Wednesday, May 14, 2014

Arc Realty Contributor

I'm very excited about contributing to Arc Realty's new blog series.  I'll be featured on Mondays as "Monday's Musings" and will be sharing lots of tips on staging, and interior design related tips for making your house a home!  Very fun. Click here for more Info.  

Arc is an amazing real estate company here in Birmingham, and they've just launched a brand new website and blog.  So, lots of interesting reads are sure to come from their new blog!  Also, if you are looking for a home in the Birmingham area, their new website is super easy to navigate when doing house searches!  Check it out


Happy Hump Day! M.

Monday, May 12, 2014

Hot Weather Finds

OK, I think it's safe to say the cold weather is gone.  We had 80 degree temps all last week, so I'm suddenly in the more for summer!  Here are my favorite summer finds.  I few I've already ordered - others I'm simply drooling over. 

I had one of these Friday night.  My hubby and I celebrated our 16th anniversary, and we started the evening at a fun local place where I ordered a John Daly (the mock version would be an Arnold Palmer).  It was so yummy.  It included sweet tea infused vodka (I like the firefly brand) and homemade lemonade!  A total summer cocktail.  Now you can pretend you're in the South too. 

I love this bag.  You can just throw what you need in and go.  Perfect for summer.

Craving simple salads.  Is it just me or does a salad always taste better when someone else makes it?  Same with coffee, for sure. 

The peonies are in full bloom here in Birmingham.  I adore this flower.  I tried to grow them one summer and the plant did not make it.  Some neighbors have them and I just wish I could grow them. 

I love entertaining outdoors.  This image just makes me want to lounge around with good friends and a glass of wine. 

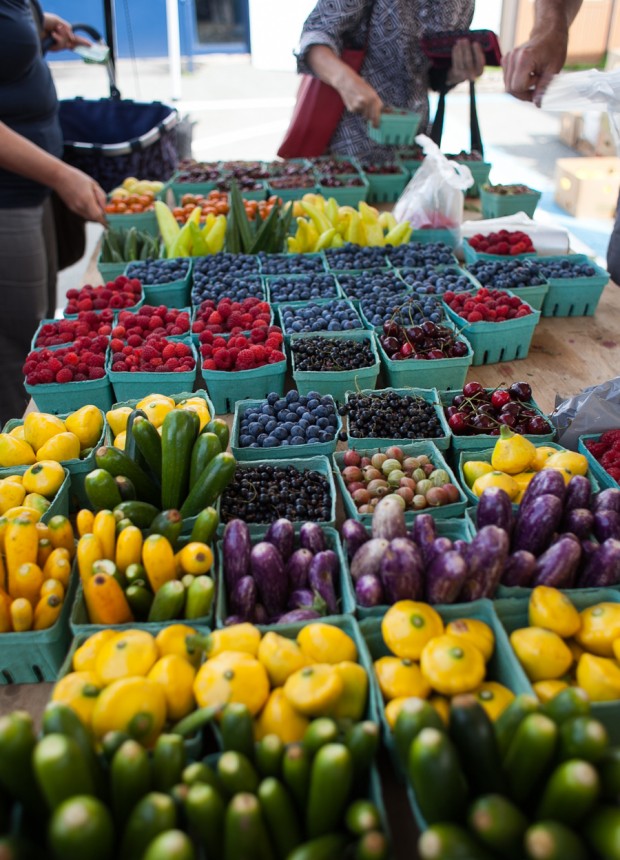
So thrilled the farmer's market is back at Pepper Place.  I've also heard that starting the first week in June there will be one in Crestline village on Wednesday afternoons.  Will be super convenient for me!  There is nothing like a meal made with super fresh produce.  Love coming home with my bounty, turning on the tunes, opening the french doors to our back patio and cooking up something simple and delicious. 


Love the look of this outfit for a summer cocktail party. 

"But if I fall for you, I'll never recover. If I fall for you, I'll never be the same." - Maroon 5

"But if I fall for you, I'll never recover. If I fall for you, I'll never be the same." - Maroon 5 by theslaura featuring a yellow purse


I also love the idea of the outfit for an evening out after a full day at the beach.  Totally smitten with the dress and shoes.
Hot afternoon

Hot afternoon by fivana featuring a rainbow dress

I'm really wanting one of these to fill with water and cucumber slices to keep in the frig.  So refreshing.


Boy do I love a pretty cuff.  This website has a wonderful story too. 

Enjoy your Monday.  Summer is almost here. M.



Wednesday, May 7, 2014

What I've been up to this week

As the end of school quickly approaches (13 days left! yikes!), my goal has been to finish up several projects by the end of May.   I'm going to be taking the months of June and July off to spend time with my kiddos.   Last year, I made a conscience decision to do this, and it worked out great.  With the time I have left with them at home seemingly melting away,  I don't want to wake up when they're in college and wonder what happened!  So, if you are waiting on a design plan from me, it's coming!  

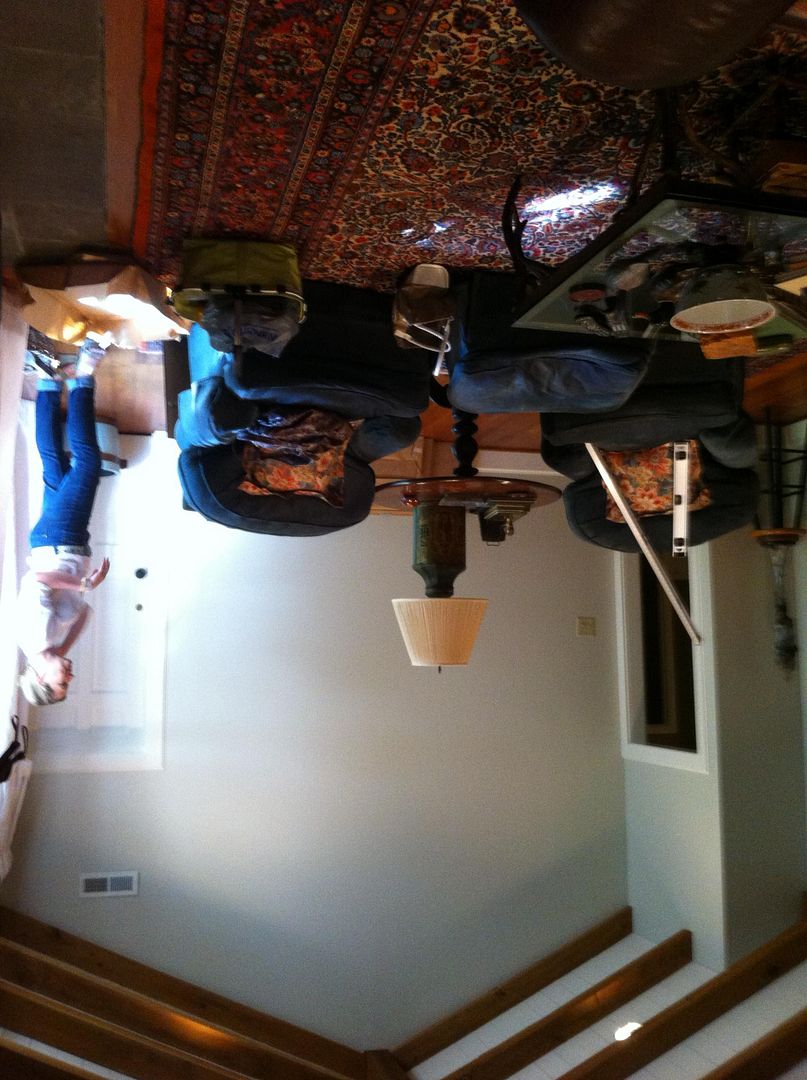
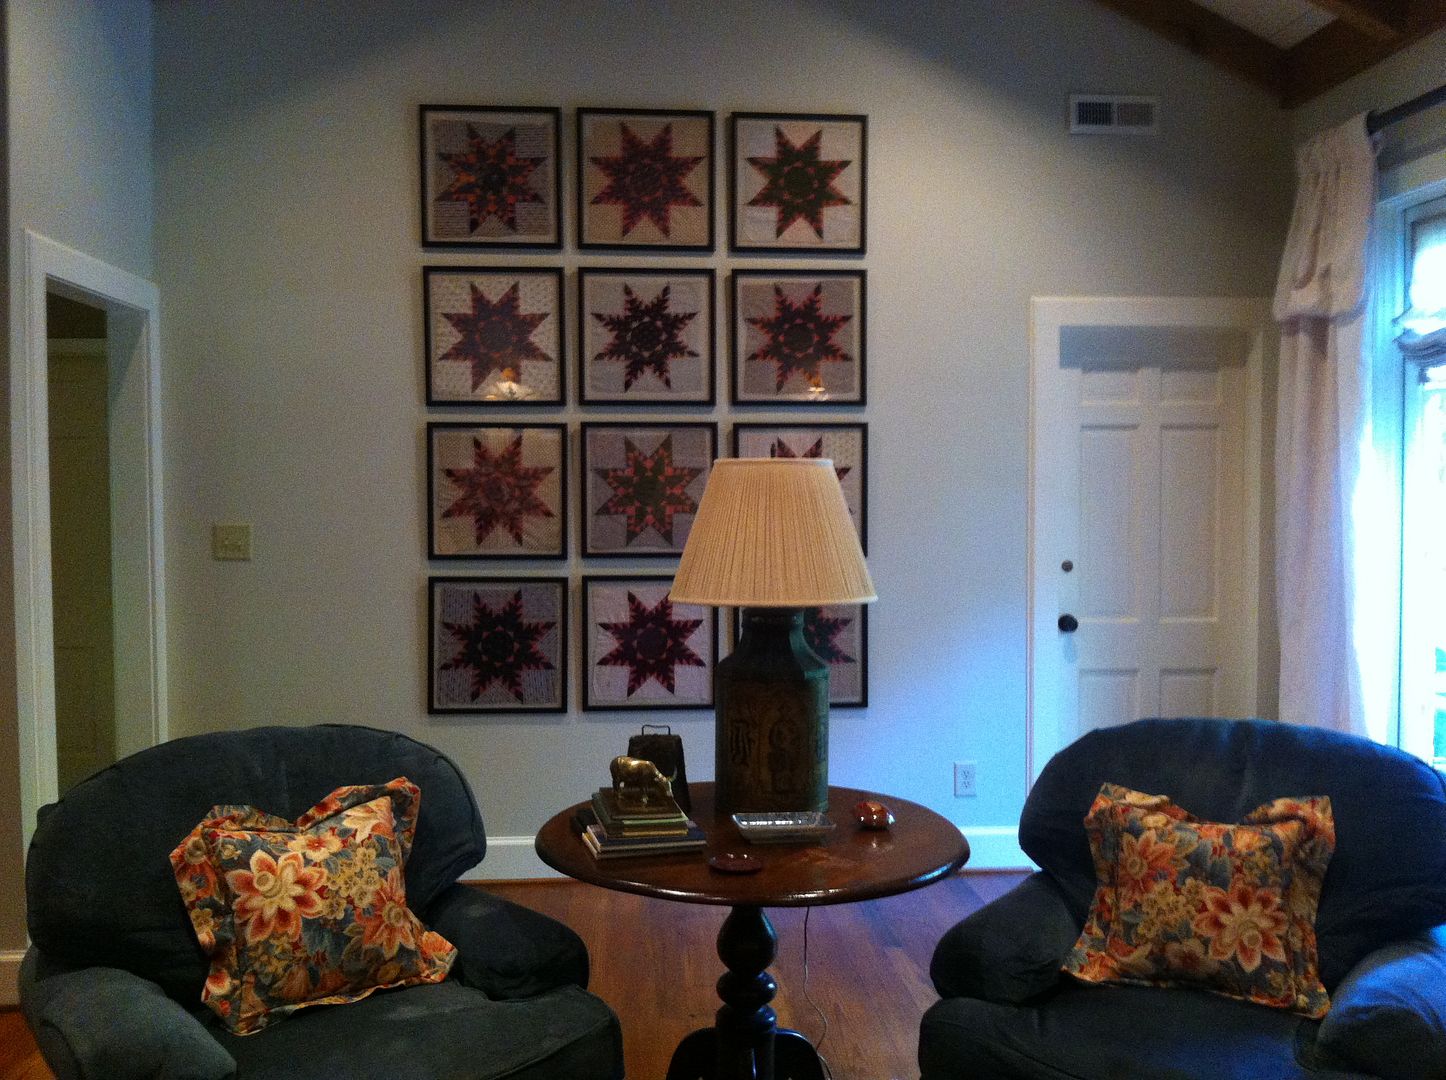
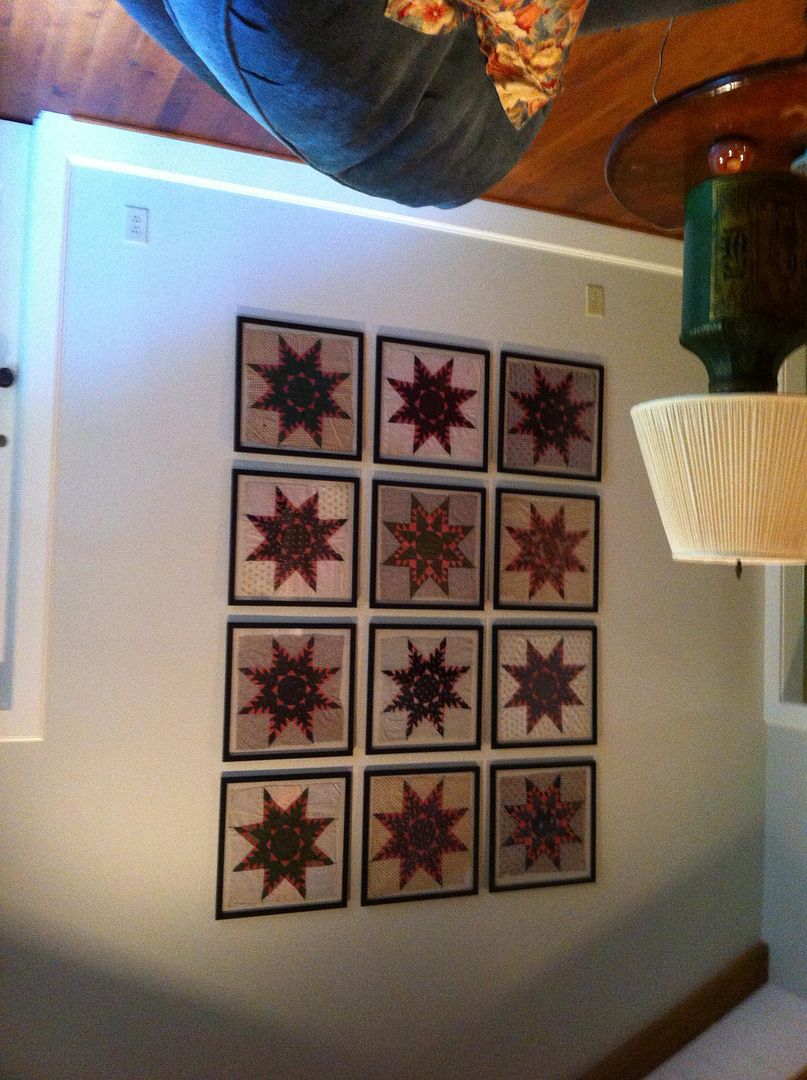
In the meantime, I wanted to show you the results of a redesign I did earlier this week.  As many of you know, a redesign is when a client calls me to come and help them rethink the layout of their spaces.  When you live in a space, it tends to be more difficult to think about the furniture in a different arrangement (or even a different room).  This client has a lovely home and beautiful furnishings.  She did not want to purchase anything new; rather, she just wanted the space to feel fresh.  So a couple of weeks ago we completed a redesign for her family room.  We moved a very large furniture piece from this wall (in the below image) to the wall on the left (sorry I don't have a picture of it) to balance her fireplace (which is on the wall to the right).  This left a large bare wall in the space.  This alone can paralyze some homeowners from rearranging their furnishings!  The key is to walk around and shop your own furnishings.  I spotted a fabulous grouping of 9 framed quilt squares in the kitchen on a smaller wall.  My client mentioned having more of these, so I recommend she have a few additional ones framed for a larger grouping on this wall.  

Once the additional pieces were framed, we came back and rehung them.  Talk about a statement wall.  

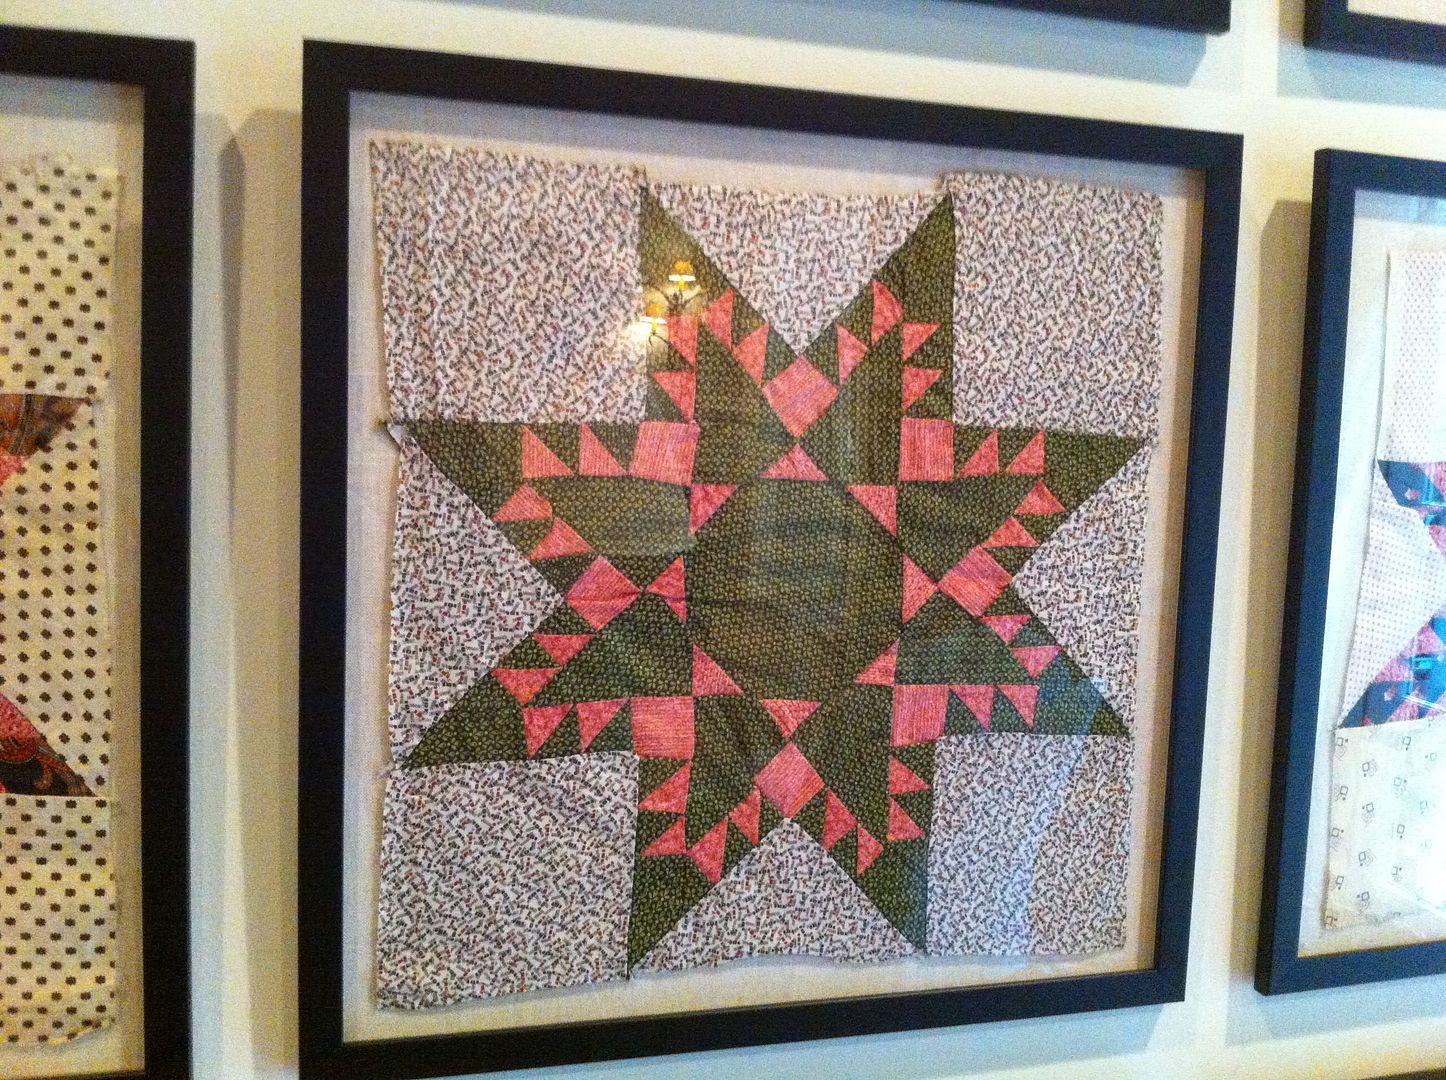
Here's a close up of one of the quilt squares.  Love how much texture it adds to the space! 

One more thing - the door to the left leads to the front foyer, so having something in this spot with a low profile is perfect for giving you an open airy feel.  Also, when you hang a grouping low on the wall, it doesn't feel like you need a piece of furniture under it.  This is a great tip when you are not ready to buy a large casement piece.  Simply hang your artwork lower on the wall.

I have to say redesigns are my favorite part of this job.  There is nothing like transforming a client's home simply by taking what a homeowner already has in their space, changing the furniture layout, rehanging the artwork and styling the room with accessories.  In just a few hours a room can be transformed into something that feels completely different.   Every time we complete one of these, I say the same thing, "I feel like I've been shopping."  Redesigns give me the same thrill as a day of shopping with friends!  No idea why, but it makes me totally happy. 

Hope you have a marvelous day! M.

Monday, May 5, 2014

Curb Appeal - Grand Finale

It's finished!  After almost ten years of leaving with our front yard in this state, it was long over due.  When I look at the transformation now, it's hard to remember what it looked like before.  So, let me refresh your memory.  I have the pictures to prove just how bad our front yard looked.

Here's where we were a few short months ago.  Lots and lots of leaves, trees, and ivy . . . 

And now . . 

If you recall, there was a small walkway (you can't see it from this angle) that went across the front of our house and then this bank of weeds and dirt.

We now have a proper entrance with steps.

Notice the neighbors' mailbox.  I was standing in the street when I snapped this image.


This angle is on the opposite side of the house and you can see a small bit of the small, uneven parking pad to the left.

Now, the parking pad pulls deeper into the front giving guests a closer, more inviting walk to our front door.


This is the area outside our bedroom.  We made the decision mid-project to turn this into a sitting area rather than simple lawn. 

I'm so glad we did this, and I really think we will use this as a secondary seating area.  My husband loves to run, so I can see him stretching/cooling down here after he runs.  The only issue now is furniture.  I have something in mind, but we are going to have to wait a bit (let the pocketbook cool off).

Remember the walkway "welcoming" visitors to our bedroom doors?  

No more!  It's gone, and I'm happy to tell you I got our first package placed at the front door by Fed Ex last week!  So, the new design is working.  The true test will be when we order pizza!  


The goal is for the hedge to completely grow in and not only block visitors from entering this way, but give us some privacy for our seating area. 

Last but not least, the view from our front door.

Much nicer to see this when I open the door for visitors.  Looks like it time for a party.

I can't leave this post without thanking the designer of this amazing transformation, Randy McDaniel.  Also, the talented team of Green Commercial & Residential Landscaping for implementing the plan to perfection - Thank you Paul and Jeremy.  I also have to thank Green's hardscape team headed up by Carlos who (along with his talented group of masonry artisans) took a drawing on paper and made it come to life!  Thank you for all your painstaking hours of making our front yard something really special.  Happy Monday! M.

Friday, May 2, 2014

Spring Series - Freshen Up Friday


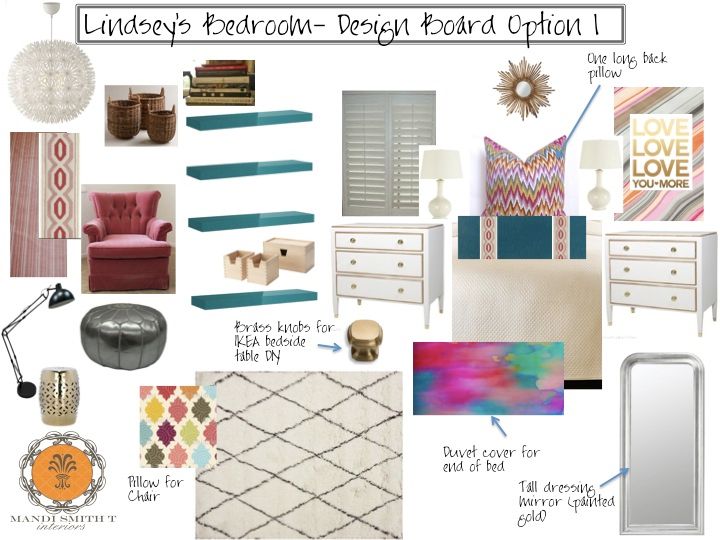
We are back to our Tween Bedroom makeover project today.  When I last posted about this, I had outlined for you the new layout for the space and the design board.  Click here for all the details.   

Once we had a plan, we got busy.  First, we re-arranged the room in the new layout to make sure we were happy with how the room would feel. 


I always recommend doing this before purchasing any new pieces.  It also gives you time to get used to the new space before making an expensive mistake. Around the same time, I snagged the 9 x 12 rug we used in the room from rugsusa.com.  This website has some of the best sales I've ever seen.  


During one of their major sales, I was able to get this rug for 70% off retail with free shipping.  Honestly, with the money I saved on the rug, I was practicably able to furnish the rest of the room.  The sales are just that good.
  
Insider Tip: they usually have one of these sales around Memorial Day, so go there now and find what you like so you can quickly pull the trigger when the sale begins.  You would not believe how fast their inventory dwindles during one of these.  

Once we had the rug, I focused on the bedside tables.  The original design board included these beauties from Layla Grayce for $3,366.00 each.

Well, that was not in the budget for our tween makeover, so I decided to come up with a DIY version of the bedside chests.  I started with the Koppang chest from IKEA.  
These are a super popular chest for IKEA.  In fact, on our first trip to Atlanta (which is the closest IKEA for us), they were out of stock.  It actually worked out fine since we purchased so many other things we did not have room in the car for them!  So, we planned a second trip and scored!  I have to say both trips with my daughter were super fun.  We talked the whole way, and after shopping had a fun lunch.  Great girl time for sure.   All was good until I opened the box to put them together . . . 

Not for the faint of heart.  BTW, I am sending out a quick apology if I have ever implied to any client that putting together IKEA furniture was easy!  I am very sorry.  Every screw, bolt and nut you see was used.   In the end, I am so happy we did this DIY, but that was not the feeling in the middle of this project.  When I snapped this picture, I was truly thinking, "What on earth was I thinking?!" 

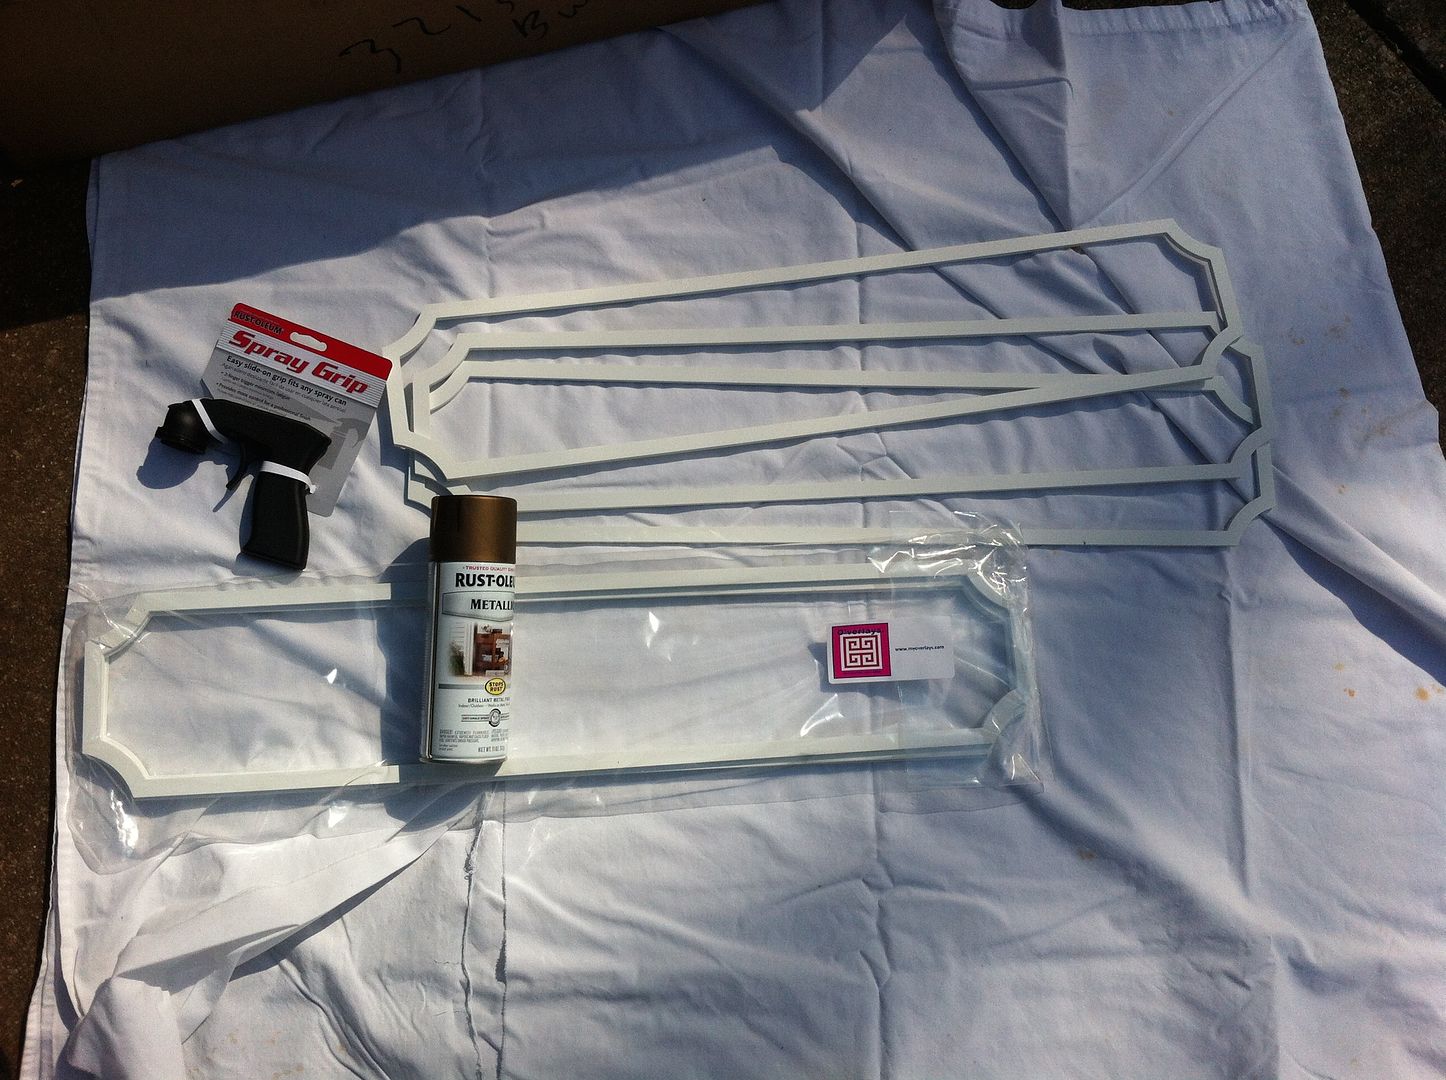
But we managed to complete both chests in an evening.  Then, I hopped on line and ordered two sets of O'verlays for the fronts of the chests.  One thing I love about this site, is you can shop by the specific IKEA furniture piece.  They offer 1/8" and 1/4" thick overlays, and I opted for the thicker 1/4".  Once in hand, I went to work spray painting them to match the antique brass knobs

The spray paint I used was Rust-oleum "Antique Brass" and it matched the knobs perfectly.  

My sister-in-law (the painter) told me about this device, and I could not have gotten the same finish without it!  It gives you so much more control over the paint.  I picked up both at Walmart. 

With a little math and some Liquid Nails I attached the O'verlays to the chests.  

This entire process happened over a couple of weekends.  You need to make sure your O'verlays are completely dry before applying them to your bedside tables. 

So, here is the final installation of the bedside tables.  Total cost around $300.00 each.  

I have to be honest, the IKEA furniture is not super well made furniture.  It is a bit flimsy at best.  But, the price is so right.  We are not talking about an heirloom piece to be handed down for generations.  We are talking about a pair of bedside tables for a tween room.  So, I think for the money they are a great solution to get the look, and with a savings of over $6,000.00 total for both pieces compared to the original ones, I'm ok with the quality! 

Most importantly, my daughter loves them!  They have given her tons of storage for her folded items and her entire room seems much more organized.  

Next week in the series, I'll give you all the details on the bedding (including that fabulous tape on the drapery panels).  I also plan to show you what we did on the other side of the room - it's quite the transformation!  Have a wonderful weekend. M.