Thursday, October 31, 2013

All Hallow's Eve

Here's wishing you a wondering holiday!  We are celebrating in our neighborhood with a very fun block party, and I'm looking forward to relaxing and seeing all the cute kiddos and their costumes.

To make the party fun, our neighbors all bring appetizers down to the street for the block party.  I'm constantly trying to come up with something yummy but a bit unusual.  I'm trying to decide what to whip up for the party.  True confessions here - my appetite is directly tied to how a food looks.  So, if the food is too creepy and gross my appetite goes straight out the window.  Things like brains, guts, eye balls and road kill - no, no, no and no.  I know this is not the case for everybody, but for me there is a fine line.  I want it to be fun, but not gross.  

So, here are some fun ideas that still seem yummy to me.


But what every floats your boat!  Enjoy your evening - be safe. M.


Wednesday, October 30, 2013

Trend Spotting - Rorschach Ink Blots

I recently saw this metallic version of an ink blot, and I can't seem to get it out of my mind.  It was created by Andy Warhol in the 1980's known as his Rorschach paintings, and it still feels super current and fresh today.  Wonder what came to mind when Mr. Warhol looked at his own inkblots?
Andy Warhol, Rorschach 1984

In case you're wondering, the Rorschach test is a psychological test in which subjects' perceptions of inkblots are recorded and then analyzed using psychological interpretations.  Some psychologists use this test to examine a person's personality characteristics and emotional functioning.  So, if I get a psychologist for a client, you know I'm going straight to these for some unique artwork for their home.

During his later years, Andy Warhol produced some stunning examples of these.  I love this one with black ink on canvas - it would look amazing with a metallic background.
via

These have inspired lots of homeowners.  I just love how they look - notice the ghost chair layered in front of the lowest piece and paired with another favorite for me - the silhouette.  clever.

The traditional black ink versions have really been popular as artwork since this image was featured in House Beautiful.   Completely stunning!  Every room (even one with lots of color) needs a touch of black.


So, I think you know where I'm going with this . . . Even the most artistically challenged should be able to pull off some version of this, right?!  Could be a fun DIY to try with my daughter on a raining Sunday afternoon.  I'll have to pull together some supplies in case we have a moment to try this! M.

Monday, October 28, 2013

Layering Artwork on Drapery Wall


Happy Monday!  I hope you had a wonderful weekend.  We are finally feeling the crisp weather here in Birmingham and just in time for Halloween.  I love it!  Saw this cute picture on Pinterest and had to share it.  Halloween is such a fun holiday that I have an entire Pinterest board just for clever ideas for the occasion.  If you need some inspiration check it out here.

My daughter asked me last week "If you had to pick a season and it would be that season for the entire year, which one would it be?" (she's 11 years old, so we do a lot of this)  After some thought, I realized I don't have a favorite but look forward to the change of season the most.  I'm a girl who likes change. So, I'm looking forward to everything the cooler months bring to the table - like a cup of hot tea in the afternoon, cozying up with a blanket and a family night of board games.  Now that I'm feeling inspired, I plan to post on a few cool weather thoughts for interiors.  Look for those in the next few weeks.

For today,  I wanted to follow up my post last week on When To Consider a Drapery Wall with "How to Layer Artwork on a Drapery Wall."  As an aside, this post took some time to pull together, and I'm hoping it will make sense to you!

The process of layering artwork on a drapery wall has a few of basic challenges which are not unique to any room:
1. Challenge One: light coming through the drapery panel so you see the outline of the window/door you're trying to hide
2. Challenge Two: A heavy painting/artwork resting on the drapery panel crushing it against the wall.

Neither of these are a good look!

In addition to these basic challenges, I had a couple that were unique to my project:
3. Challenge Three: The ceilings were a double story high in this room (so the technique of hanging the artwork from the ceiling was not an option for me),
4. Challenge Four: The opening we covered was so large the majority of our painting did not have a wall to "rest" on behind the drapery panel.  So, it was a bit of a challenge to pull off.

I often hear people say "Oh yea, I've seen that!  It would be easy to do."  But when you actually try to pull off a similar look, it never turns out the same.  I think this can be said for many attempts of a drapery wall.   The key is to really think about what you want the end product to look like and consider all the practical issue related to that process.   The result will be a fantastic,  polished look.  

For starters, always use a drapery panel with blackout liner when creating one of these.  We even used interlining to give our panels even more weight.  If not, you will be able to see the window/doorway through the fabric on a bright sunny day, and all your work will be for nothing!  There are a few ready made versions of panels with blackout liner or you can have a seamtress make you a custom set.  This is a very important layer not to be skimped on when creating a drapery wall.

Easiest Method for Drapery Wall
When you have actual wall (not a window/doorway) in the spot where you are going to place your nail for hanging your artwork, you can simply hang the artwork on the wall.


I like to use two panels in these situations so you have an opening in the center for your nail to come through and allow you to hang the painting. Then you can adjust the two panels to appear as one.  Also, if the painting you are hanging is light weight (like a wrapped canvas) you are not going to have issues with the weight of the artwork crushing your draperies.
Jay Jeffers Office

Let's say there is a window or doorway in the exact spot where your nail needs to be to placed for the artwork.  In these cases, you would still use a pair of panels (so you have a split opening for your nail).  But this time you will place the nail (or cup hook) higher on the wall above the window/door where there is some wall space.  Then you can suspend the painting from monofilament (aka fishing line) and adjust how low the painting will hang using the monofilament.

 Alternatively, you could suspend the painting from monofilament which is wrapped around the drapery rod and down to the painting.  Again, adjusting the two drapery panels to hide the monofilament.  These techniques work great when the painting is not too heavy.

  However, when your painting is heavy and large, you have to step it up a bit!  Specifically, you must provide something for the lower corners of the painting to rest on that will "lift" the painting off the drapery wall.  I used a 3" profile drapery bracket for this.  If you will notice in the diagram below, I had my carpenter build a support across the doorway opening (since there was nothing there to secure my right lower bracket).  This gave the painting balance and prevented the "crushing effect."

Also, I decided to go with one large panel rather than two since we were using a solid linen and it would have been difficult to hide the opening.  I then punched a grommet through the panel at the precise place where the top bracket would fall on the drapery panel.  I had to do this on site during installation, and I don't mind telling you it gave me sweaty palms to cut that gorgeous linen for the grommet! We threaded the bracket through the opening which allowed our painting to hang freely from the existing picture wire.

The result - a major focal point well worth all the effort.  Enjoy your week - very excited for this sweater weather! M.

Thursday, October 24, 2013

Local Resource: The Wishing Truck

A few weeks ago, I had a very informed client (thanks, Jenny!) fill me in on a fabulous local resource.   It's called The Wishing Truck, and it is a very special delivery service.  


If you've worked with me on any projects, you know there are a few items from IKEA that I love to use in my design plans.  When you incorporate this in small doses no one knows they are IKEA.  The biggest problem with sourcing these items is we do not have an IKEA in Birmingham.  So, clients have been trekking it to Atlanta to pick up these items.  Well, that is until now.  Enter Madison Janssen! 


Her simple, yet much needed company called The Wishing Truck takes routine trips to IKEA to pick up anything you need!  And to make you feel even better about  your purchases, Madison is giving 10% of her profits to missions.  Talk about a win win!  So, I contacted Madison a few weeks ago, and she agreed to an interview on the Muse!  I thought her answers were wonderful.  

Also, just for fun, I'm including some of my all time favorite IKEA hacks throughout this interview to inspire you to contact Madison for a delivery of your own!

Are you originally from Birmingham, Alabama?
I was born in California but quickly moved to Johns Creek, GA, a suburb of Atlanta. I lived in the same house for 21 years until I left for college at Samford. Despite growing up in the South, I would not consider myself a “Southern Bell.”  Atlanta isn’t extremely southern and with both my parents from the west coast, Birmingham put the “south” in my blood. I had never had squash casserole, hamburger steak, stewed tomatoes, or anything along the lines of that. I love big cities, but there is something special about Birmingham... My family in Colorado would tell you I am getting a little twang in my voice!

Brass Etagere - VITTSJO
via

How did you come up with the concept for your company?
I am a Samford Brock School of Business student pursuing a degree in Entrepreneurship and Management. Entrepreneurship is something that has been in my blood for a long time, I love to think of new ideas and businesses. I was given the opportunity to go to Guatemala and Africa with my church during middle school and high school. One of the biggest impacts the trips made on me was to see how little they had yet the kids were the happiest people in the entire world. They loved the Lord, loved life, and always had the biggest smile of their face. They were so appreciative of the smallest things. I want to help provide a better life for other people and allow the community to get involved as well.
I was given the assignment in one of my Entrepreneurship classes to start and run a business of my choice with $100 and run it for 10 weeks. This assignment could not have excited me more. This is what I love to do! The Wishing Truck idea came to me as I was studying for a Marketing test. I thought of the idea and called my mom to share the excitement. She gave me some feedback and a few things to think through. I proceeded with studying and on the next page of my book was a big picture of IKEA... That’s when I knew I was on the right track!

Dorothy Draper Inspired Chest - Malm Dresser

Another Transformation of the Malm Dresser
What inspires you?
I was fortunate enough to have the opportunity to travel to many places around the world while growing up. I think that through the experiences I’ve had, the places I have seen, and the people I’ve met along the way have all made an impact on the person I am today. The architecture, food, and culture you find through traveling changes you and they affect the way you see the world. I love the adventures, the explorations, and the new experiences you will find in places unfamiliar to you. We grow so accustomed to how we all live in America, but traveling to other countries and experiencing their way of life will inspire you. God created such a beautiful place and we all should get out there and explore!

Bedside Tables - Rast Chests
What is your design aesthetic/style?
 I have so many different styles! I have always said I want to flip houses so that I can decorate each house with a totally different, but unique design. My dream house would be modern, rustic, and European all in one. I love dark woods, light colors, linen, clean lines, painted brick, mixing gold and silver and white marble. I love a little pop of color in a room full of light colors.

Complete Love of this one!  
Where do you see yourself in 10 years?
In 10 years I hope to be running a business of my own. I would love the opportunity to grow and continue The Wishing Truck with the help of Innovation Depot in downtown Birmingham. I love design and fashion, so I would love to incorporate that into what I do. There are many ways I want expand The Wishing Truck and am excited to see where it all goes. An entrepreneur can never share all her ideas though… :)
If you are in the Birmingham area and need an IKEA fix, Madison's your girl!  Go to her website to find out when her truck will be leaving to make a pick up.  M.


Monday, October 21, 2013

When to Consider A Drapery Wall

Happy Monday, all!  A few weeks ago, I posted about a formal dining room project.  We used a gorgeous linen drapery panel to hide a large off centered opening into a secondary room.

Originally, this room was the formal living room and the room beyond the formal dining room.  But the homeowner's were not using the living room and needed a main floor office.  So, we flipped the dining room to the original living room space; and then used the drapery panel to divide "hide" the opening into the new office (which can be accessed from the kitchen).  Are you getting all this?!
Mandi Smith T Interiors

The result of all this flipping and switching?  The homeowner  now has a beautiful formal dining room you see when you enter the home and she also has a private office area (off of her kitchen) where she can spread out and work.  As an added bonus, the drapery wall also created a focal point large enough to layer her buffet and a portrait of one of her children.

So, I know your asking this question - when should I consider a drapery wall?  There are only a few times I think a drapery wall is appropriate.  But when they work, they work!  Let's talk about the perfect situations for this special trick.

Non-Permanent Wall
Consider the drapery wall when you need to separate two rooms, but you're the noncommittal type (just kidding) but you don't want to permanently alter any walls which can be expensive.

This image is of Vincent Wolfe's loft in New York.  In this case the drapery wall provides privacy when needed but can still be opened for light/flow on occasion.

Light Filled Space

If your room has plenty of light and closing up one doorway or window will not dramatically effect the overall feel of the space.  Then a drapery wall is one solution for creating a cozy soft feel to a room.

Zero Wall Space
When your room has so many doorways and windows, there is zero wall space for furniture pieces and artwork.  Then, consider a drapery wall.  In the image below, there is no way to know for sure, but the drapery is either layered over windows or just a very small wall (between the windows) not giving you the space to hold this large upholstered bed.  With the drapery panel, you get a total Wow behind the bed.

OK, I realize this is not the clearest image (I grabbed it off Pinterest and it looks to be a photograph of a magazine page), but this is the perfect example of creating a wall for a large piece of furniture.  Notice this drapery wall is layered over an open stairwell.

I love the image below.  Sometimes entry ways can be tricky with no true spot to create that first impression when you enter the home.  The drapery wall can do the trick!

Awkward Windows and Doors
When you have an oddly placed window or door that is throwing off the entire room and making furniture placement impossible.  Then consider the drapery wall.

This long narrow room needed a spot for the bed, so the fabric (in the same color as the grass clothe walls) unifies this window wall and creates the perfect spot for the bed.

Cozy Media Room
There is one exception to the light filled room mentioned above - when you are creating a media room.  A drapery wall creates a cozy cocoon of a space perfect for watching movies.  It also has the added bonus of absorbing sound so you lose the echo effect. 

One last image I had to show you.  This is an example of the reverse effect when using drapery panels.  Rather than creating a wall, this Canadian designer, Yanic Simard has used drapery panels and mirrors to create the illusion of an additional window and light.  Very clever. 

Sorry to digress!  So, now that we've covered when to use a drapery wall, we need to talk about how to layer artwork over the drapery wall for some real impact in a space.  I will be posting all the details on this later in the week.  See you then!  M.


Thursday, October 10, 2013

West Elm Opens Today

What a fun day yesterday - I got to tour the new West Elm location here in Birmingham.  Just look at all this goodness waiting to be snagged. 

There was a nice group of bloggers who showed up for the tour.  I even learned of a couple of new blogs - The Lovely Owl by Meredith and Bailey Dailies by Catherine.   I can't wait to settle in this weekend and read their blogs.

In addition to lots of interesting info on the sourcing West Elm does for their products, they are doing something really great.  They are partnering with Esty dealers for unique local finds.  If you've worked with me on any design plans, you know I'm a huge Etsy fan.  I think it's a great way to get some one of kind accessories and lots of high end pillows for much much less.  I love the idea of West Elm recognizing all the fabulous talent of the Etsy artisans.  There were several items in the store from specific Esty dealers including these hairpin leg tables . . . 

So, when you're next in the store be on the lookout for these signs which note custom unique items.  I love that the items vary from store to store and really try to focus on local artisans.

Unfortunately, they did not have my favorite spheres in the gold finish.  They are getting them in, so I'll just have to go back. Darn. (smile.)  What I did find were these incredibly oversized trays for only $69.00 each! (sorry the pic is so blurry).  I could not appreciate how large these were online.  And the same size tray at other places in town will cost you well over $200.00 (trust me, I've looked). 

After perusing all the offerings, I could not resist these super soft throws.

I've been looking for some for awhile.  But, I've had trouble finding the perfect color and price point.  I thought they were perfect - love the long fringe on them.  

No more dragging sleeping bags and other blankets into the family room for movie night.   We will be veggin' in style. 


I also got to meet the Elda, the General Manager of the store; and she and the entire staff were so gracious and eager to help.

It was a very fun afternoon.  I hope you'll make some time to run by this week!  It will not disappoint. M.


Monday, October 7, 2013

Entertaining - Garden Club Meeting

Sorry for the MIA last week!  It was crazy busy with design work and a big installation.  So, the blog got put on the back burner.  Now, I'm playing a little catch up by sharing a few random things.

First up, a few weeks ago I posted about a brand new lacquered spray paint by Amy Howard.

I had lots of readers contact me asking where they could get this paint locally.  I picked mine up on a trip to MIssissippi.  So, I had no local source.  Well, last week, I received an email from a very nice reader (thanks, Carol!) informing me we now have a local source for the paint - Beverly Ruff Antiques on Canterbury.  If any of you take on a project with their lacquer series, please send me pictures.  I've not had a chance to try it yet and would love to see your efforts!

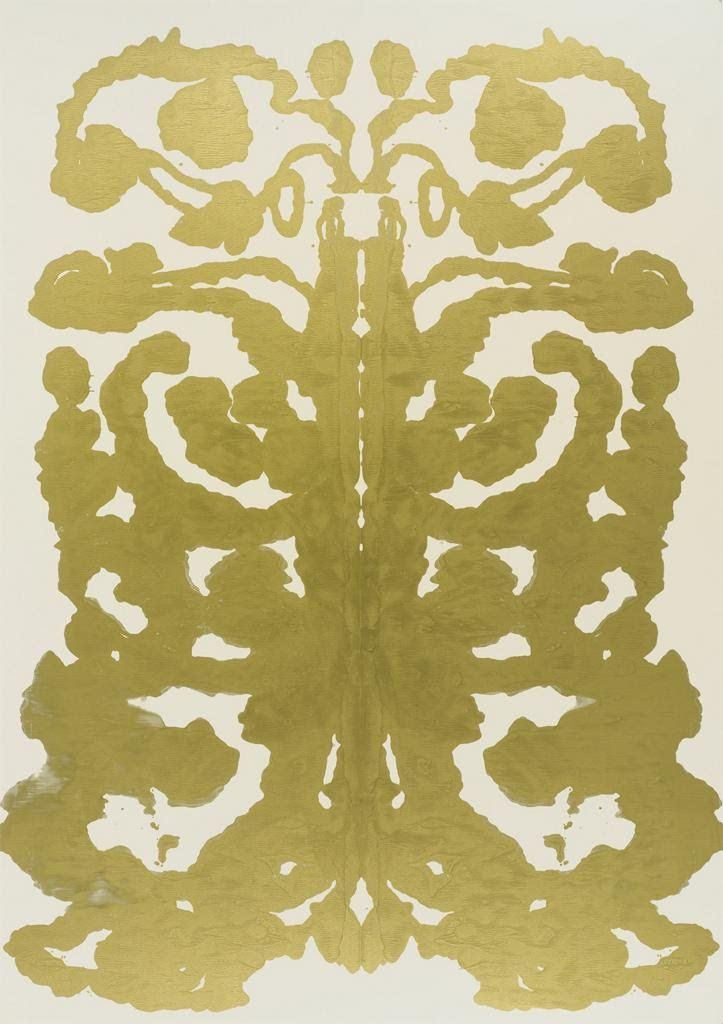
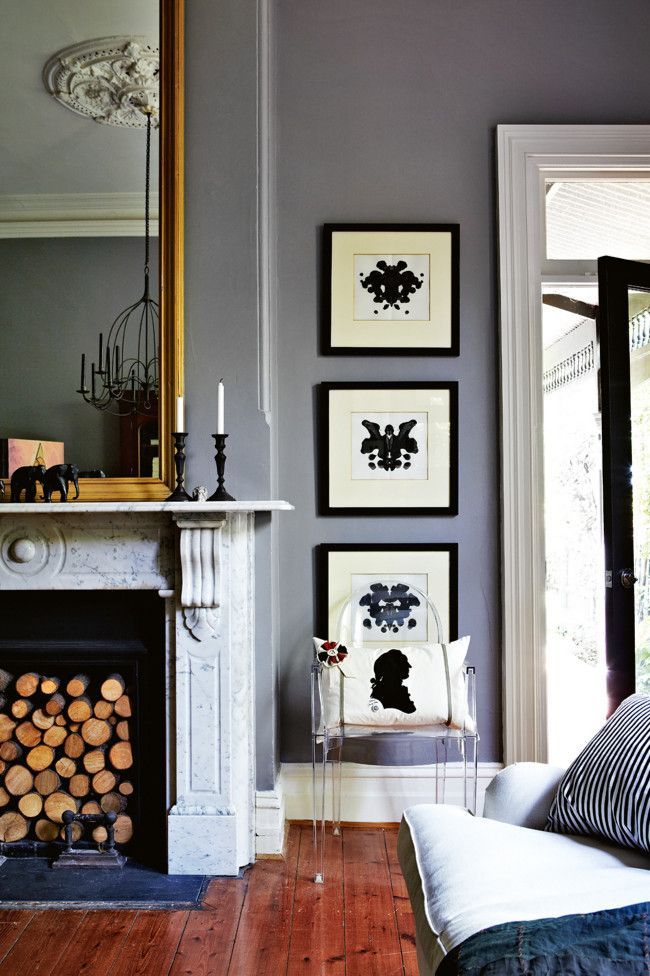
In more random news - Our 
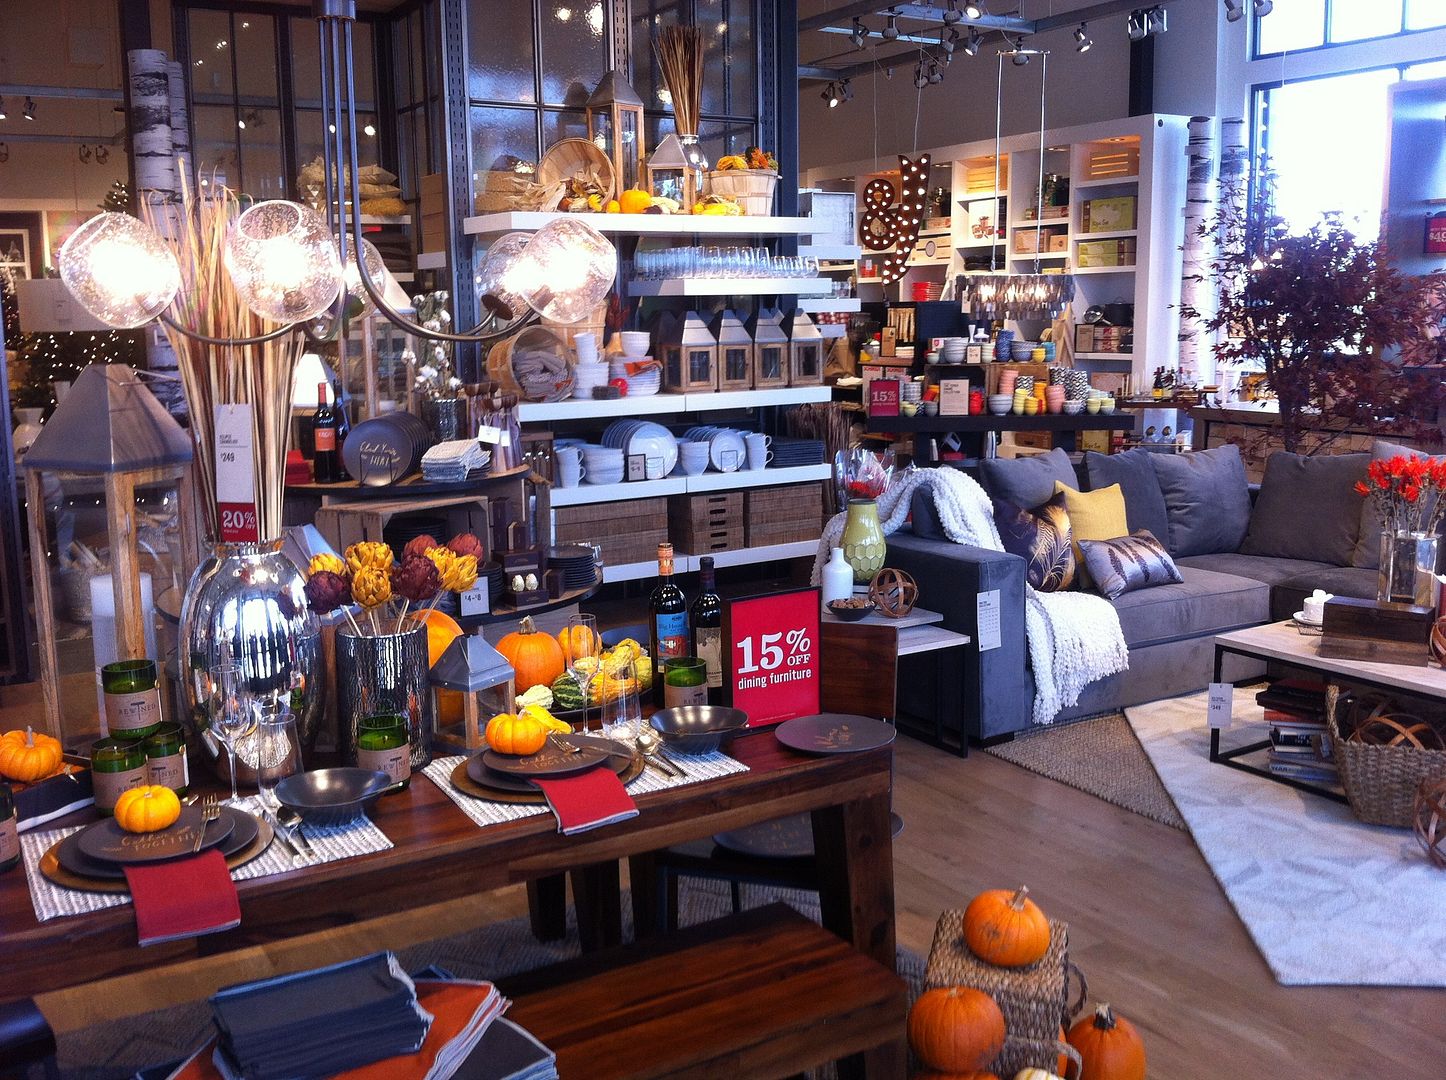
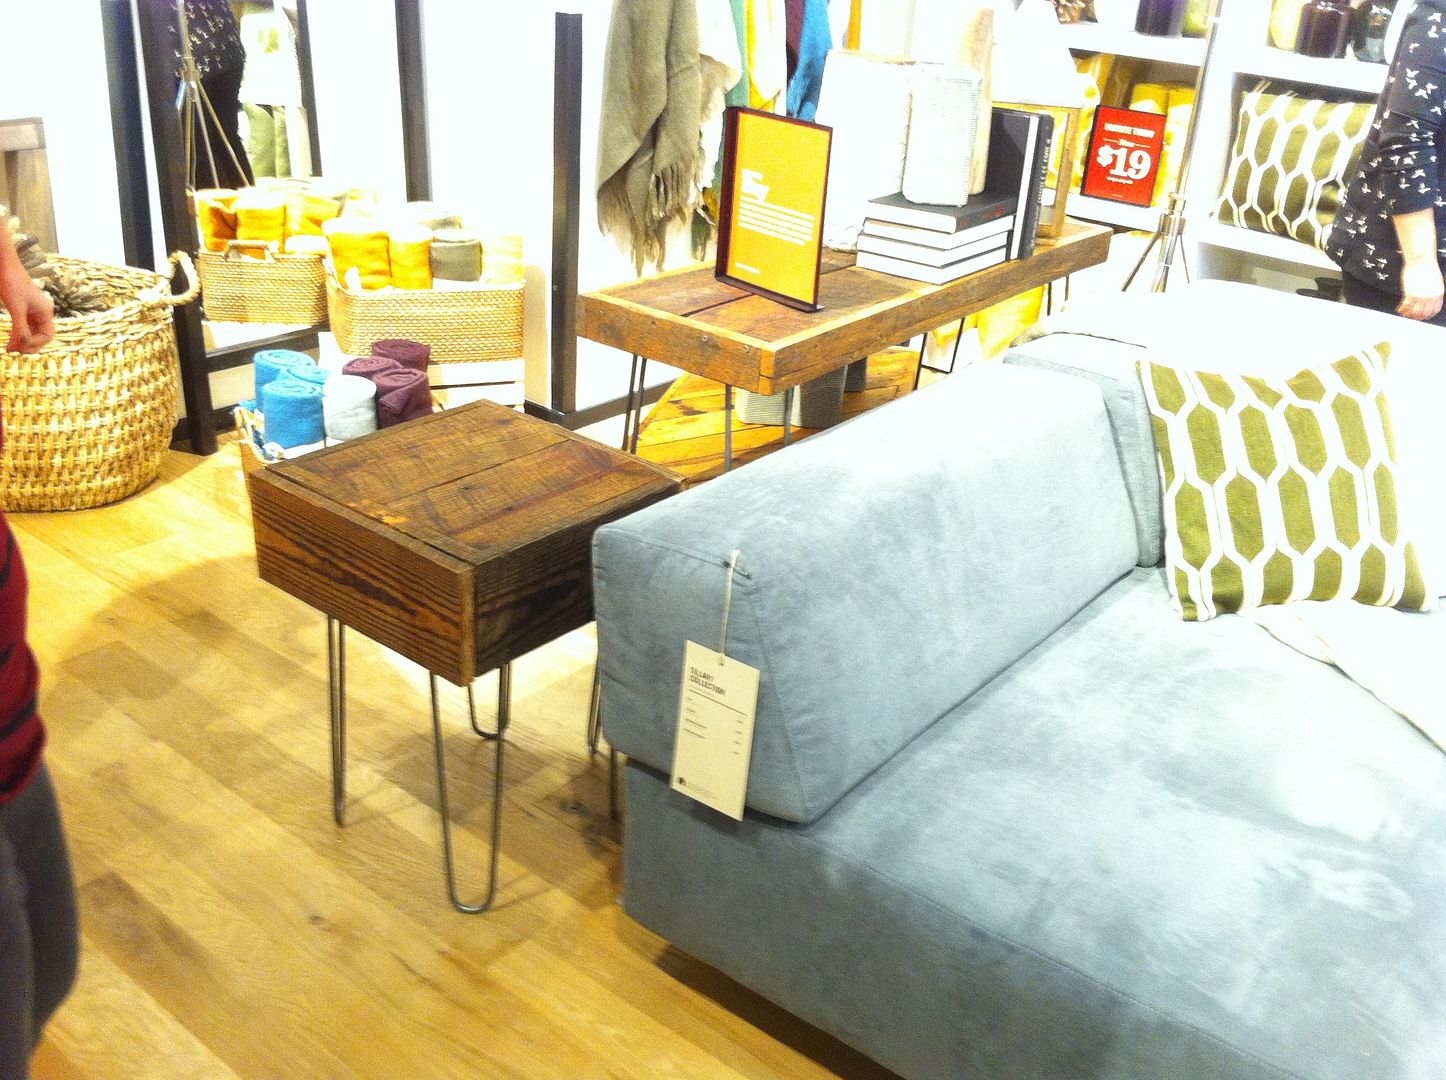
West Elm location is going to be open very soon!  I've been invited to a preview tour of the store this week; and I can't wait!  Love the idea of being able to run by and pick up some fab accessories for a last minute style - including this little item that's been on my radar.
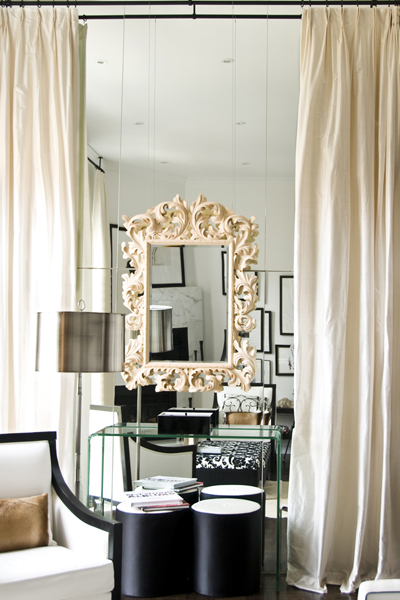
I sourced one of these spheres for a client's entry table several weeks ago.  I ran by her house the other day and loved it even more in person.  So, I may have to grab one for my own coffee table!

Fall Entertaining
OK, now on to the title of this post! I recently hosted our garden club kick off party for the season.  After some very fun brainstorming with my sister-in-law, the theme "Tailgating 101" bubbled to the surface, and I took it and ran with it (sorry, I couldn't resist).   My sister-in-law is a master at tailgating and sent me home with one of her centerpieces.  I decided to set it up on my entry table as a welcome to the meeting.  I snapped these the day before, but on the day of the meeting this served as our name tag table.

I also came up with a party favor for the occasion.  I saw this recipe on Cyndy's blog, The Creativity Exchange (this is one of my morning coffee reads).  The minute I saw it, I knew I had to try it.

It was so delicious and festive!  I came up with a tailgating tag and used her recipe (thanks, Cyndy!).

They were super easy to make on the computer and I added the simple grommet and twine to make it feel special.

Here in the South, we are very serious about our tailgating.  Not only does it have to be delicious, it has to look good too.  So, I invited caterer extraordinaire, Ingram Link, to come and do a tailgating cooking class for the group.  We made three delicious dips while Ingram talked about all her tricks for taking a feast on the road.

We also had a friendly competition of tailgating centerpieces.  Three brave members took the challenge and here are their efforts.

This cute centerpiece included lots of sweet treats, all with an Auburn twist.  My favorite part about this centerpiece -  the thick custom wooden letters she painted in orange and blue.  For tailgating, it's important for your centerpiece to travel well and these letters are perfect.

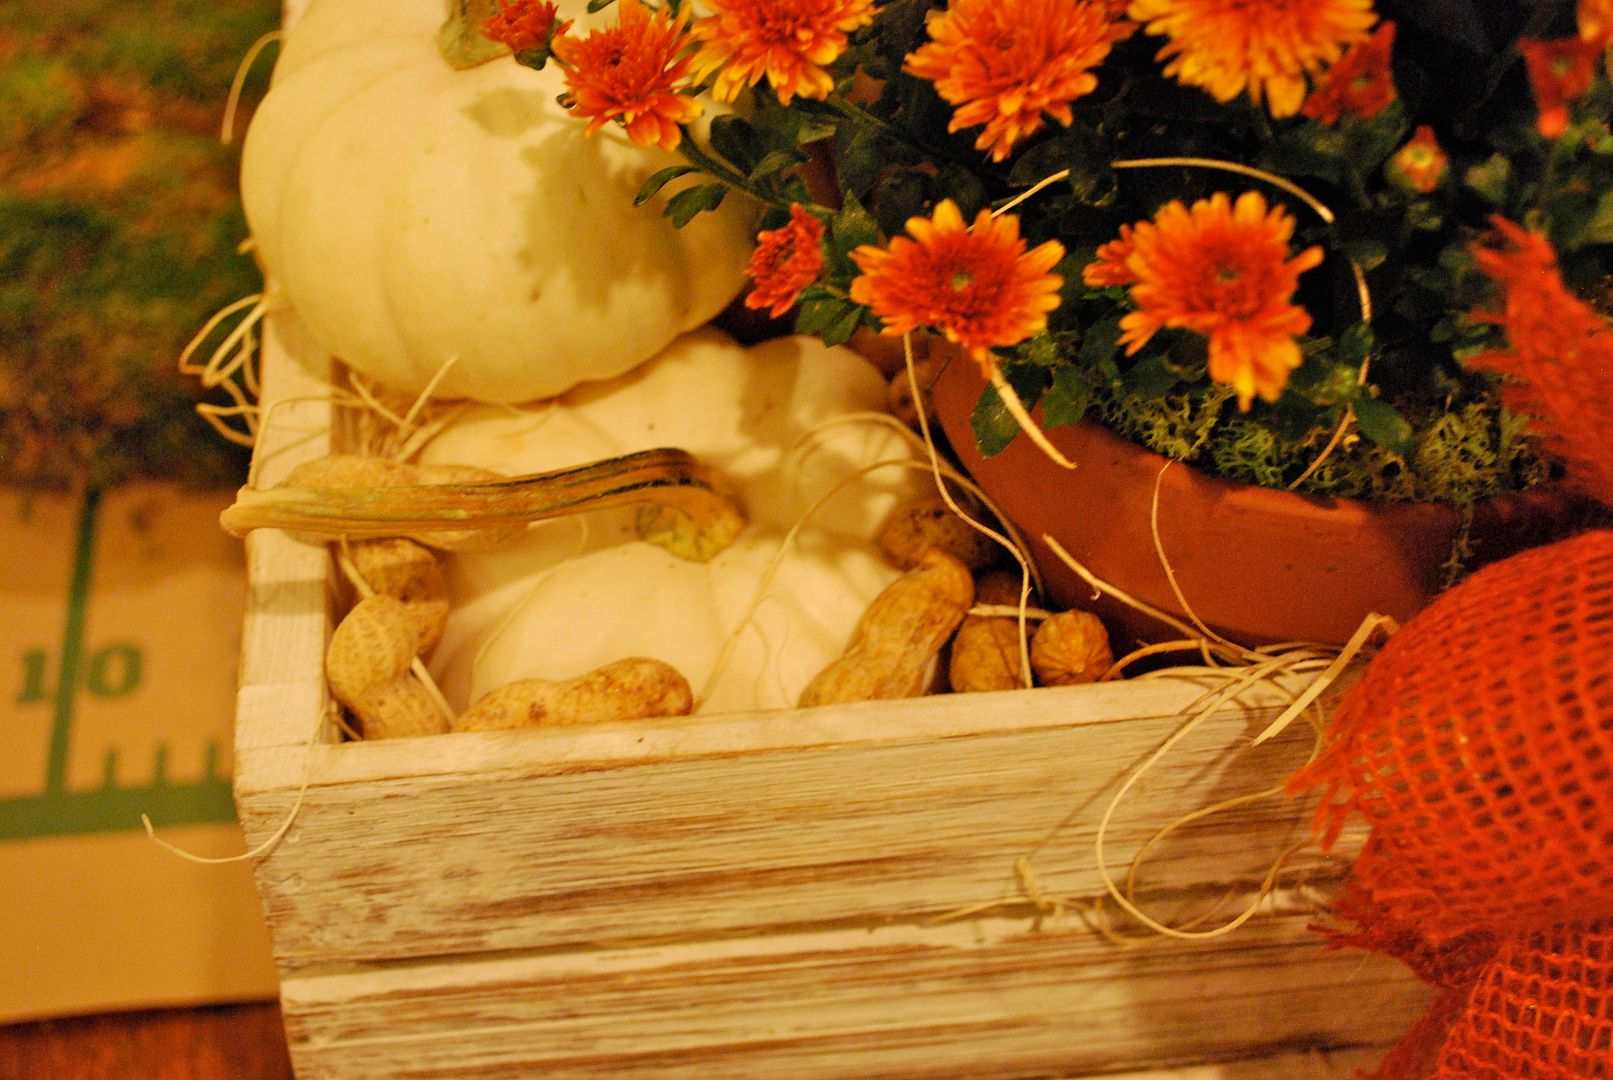
For the second one (also an Auburn fan), a clever Fall theme taking full advantage of orange pumpkins for the school colors!  Add some blue ribbon and you're there.

Talk about a clever arrangement (love the peanuts).  Also, the wooden crate is perfect for taking this centerpiece on the road!

Lastly, we had one Alabama fan who threw her name in the hat, literally!

This arrangement focused on the new symbol for the team.  Most of you know the houndstooth hat is synonymous with Alabama football.  Well, now there is another symbol that is setting a trend!  I have a feeling there will be lots of Christmas trees this year adorned with this hat. 

It was very fun to see so all three takes on a centerpiece.   After a quick vote, the winner of the centerpieces (the heavy wooden letters arrangement) received this fun prize!
via


While parties like this are super fun, they are a lot of work to pull off.  I had the best group of hostess who helped me make this meeting happen - they managed everything beautifully which took lots of stress off so I could get my house ready.  They came up with a very traditional tailgating menu and we enjoyed BBQ with potato salad and for desert brownies and Roll Tide red velvet bars (totally divine). We included the food around the three different centerpieces and I set the drinks up on my buffet.

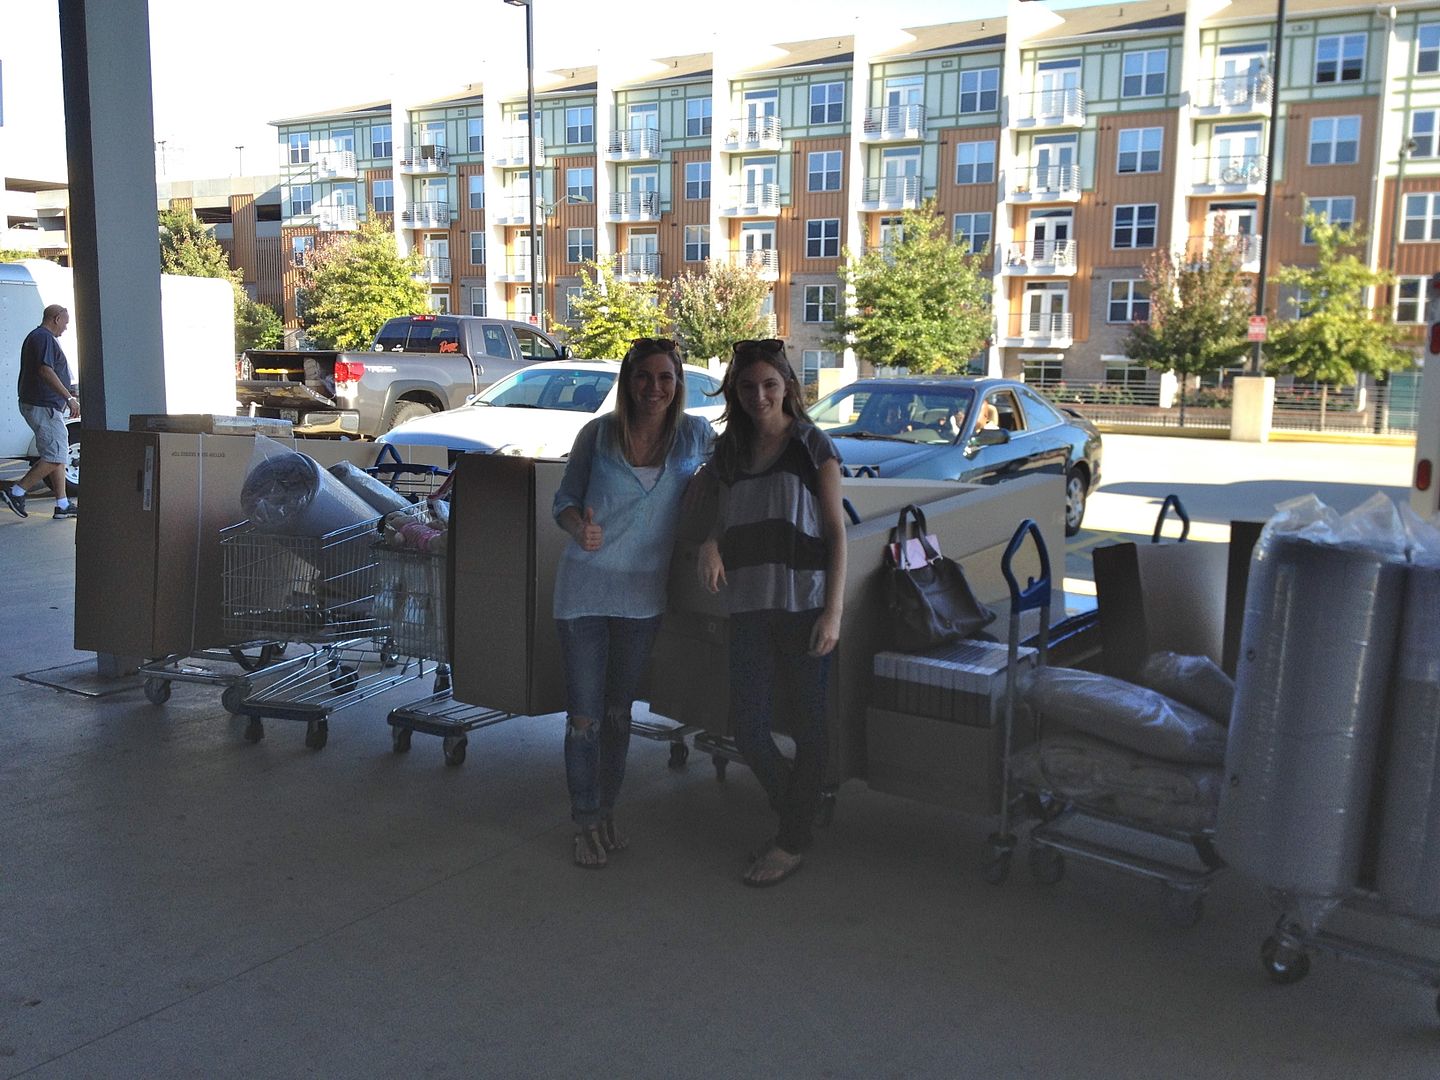
This gave me the perfect excuse to finally use these crystal urns I picked up from The Enchanted Home.  If you are looking for something really special for your home, you need to check out Tina's online storefront.  You never know what you will find there.  Thanks, Tina. 

Now, go enjoy those last few weekends of tailgating on the calendar!  Happy Monday. M.