Tuesday, October 4, 2011

DIY Project - Intaglios Tutorial & Giveaway

As mentioned yesterday, I created a grouping of framed intaglios for my entry way.  Each one cost me around $33.00 which is a fraction of the $395.00 retail price.


I promised to give you all the details, so here goes it!

Supplies

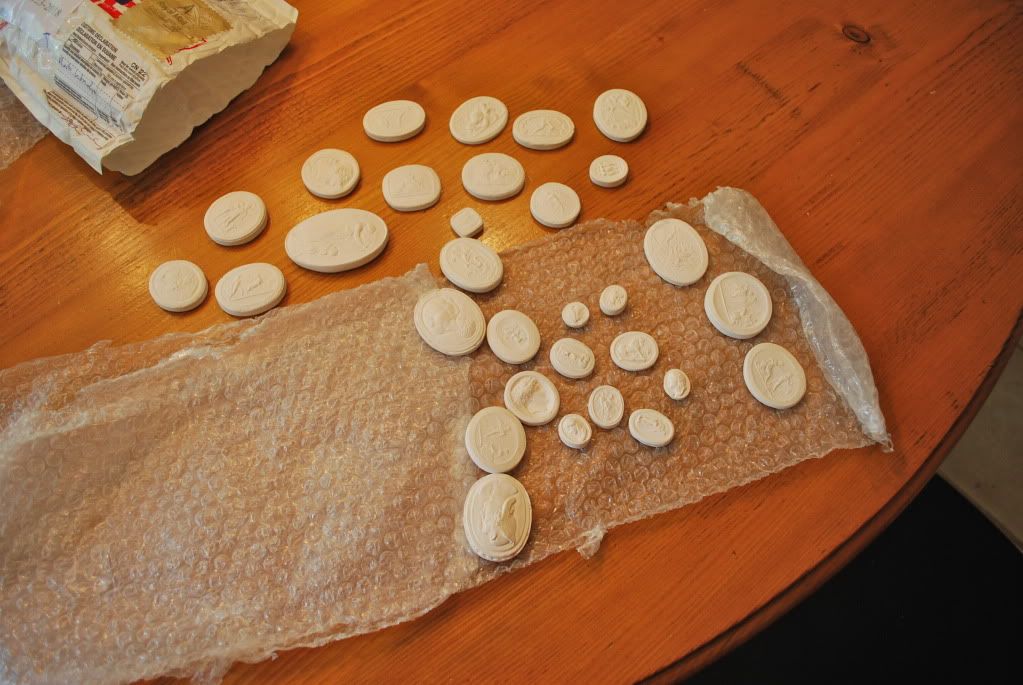
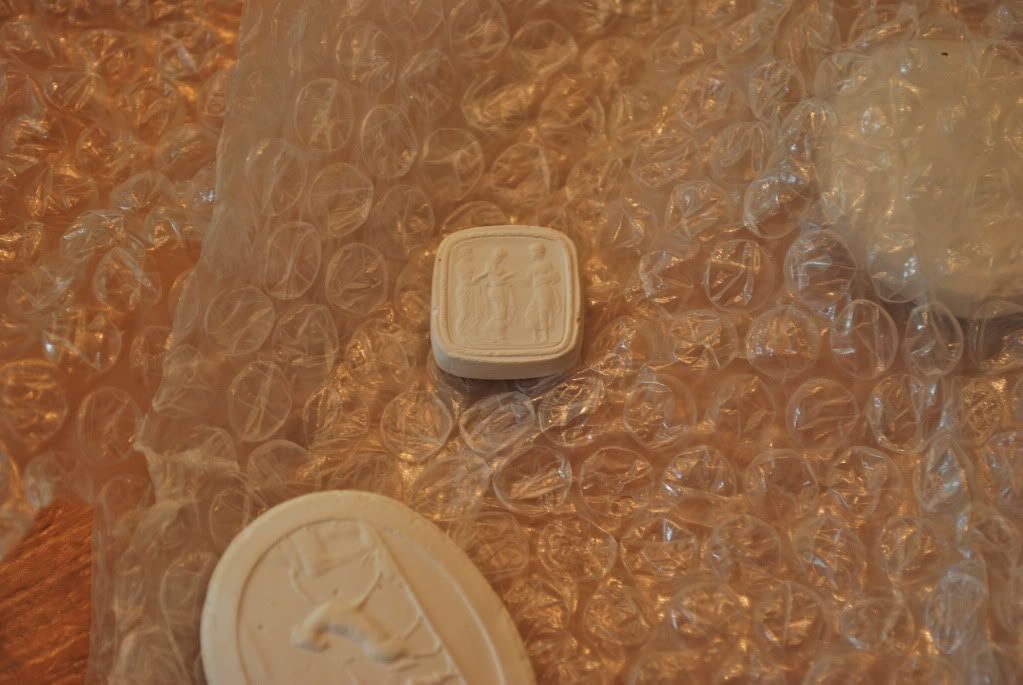
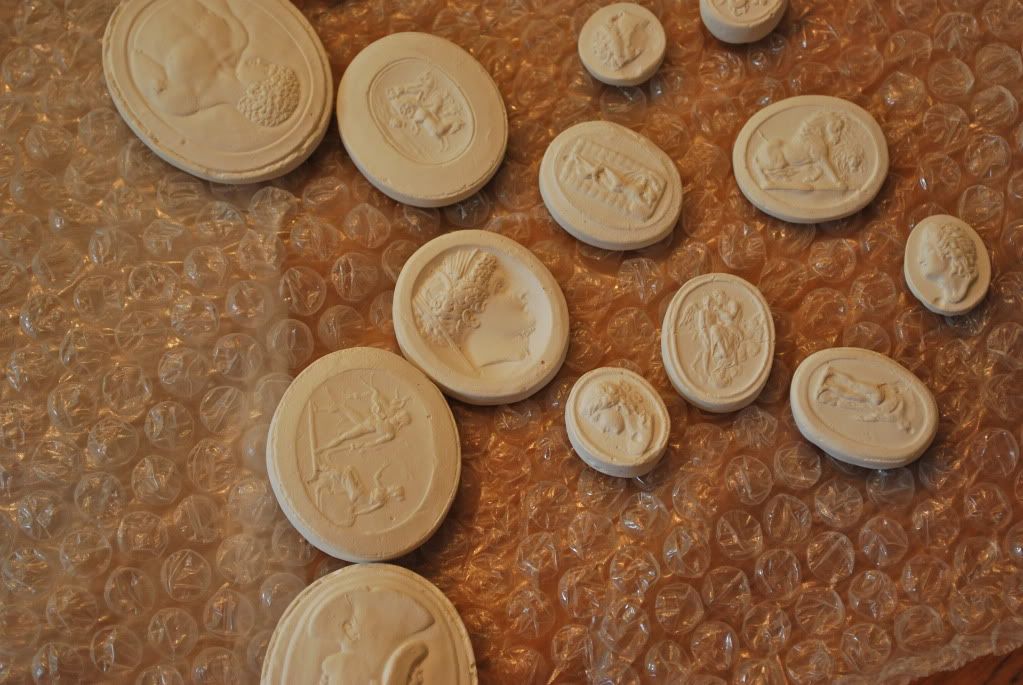
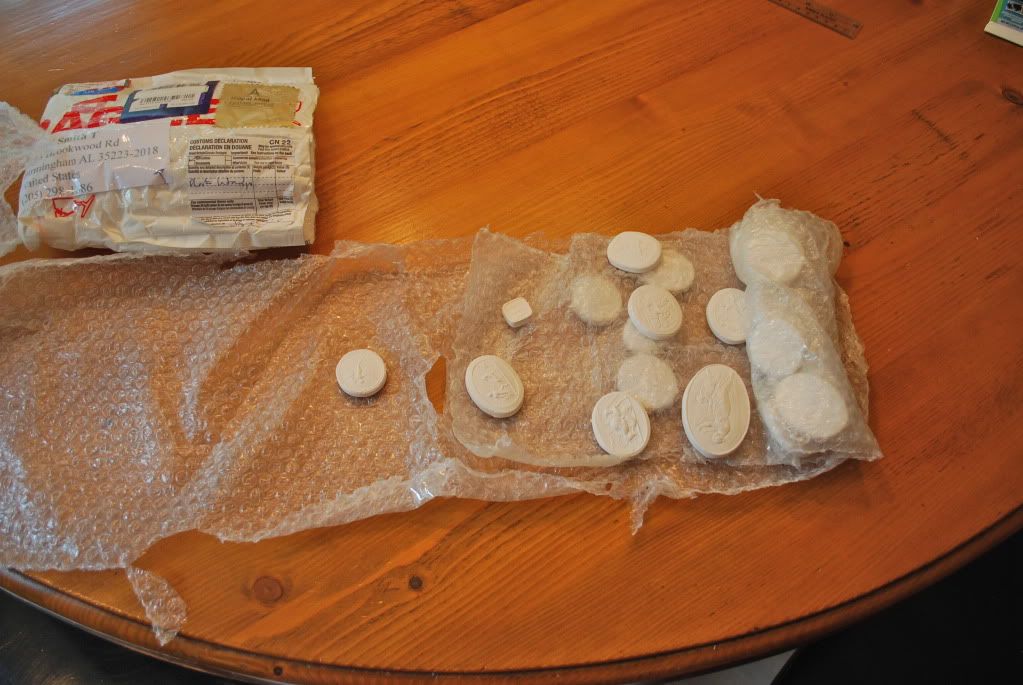
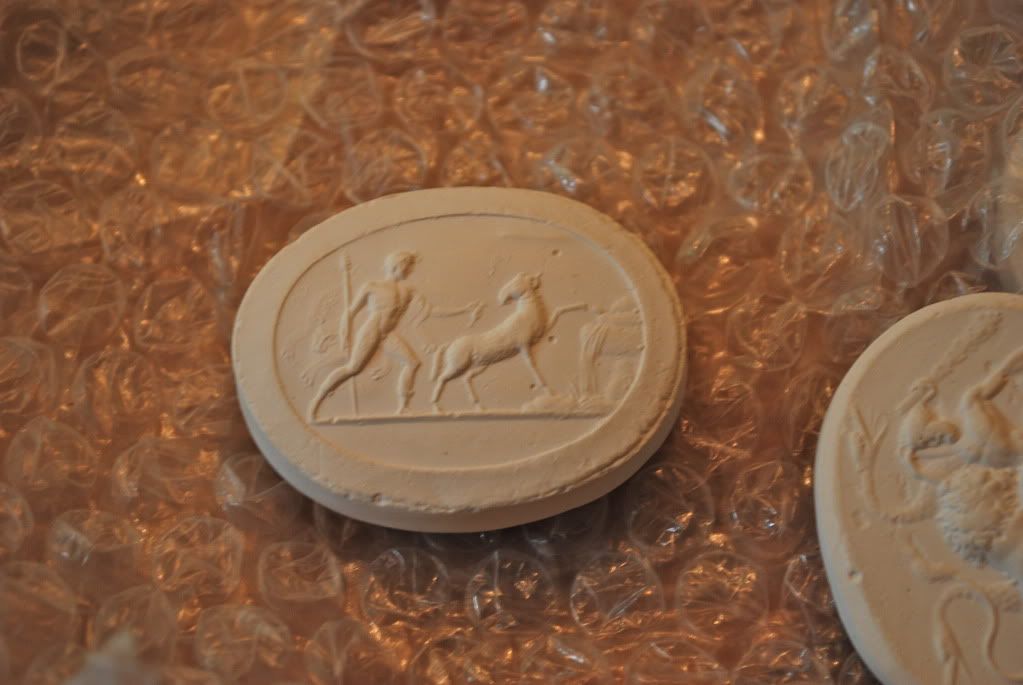
1. Intaglios - I found these on Ebay by searching for "plaster cameos."  The lot I purchased included 32 total.  The more the merrier when you are creating a grouping.  Here's a current lot for you to consider Plaster Cameos (btw, the price has gone up since I got mine, but it's still more affordable than the retail version).



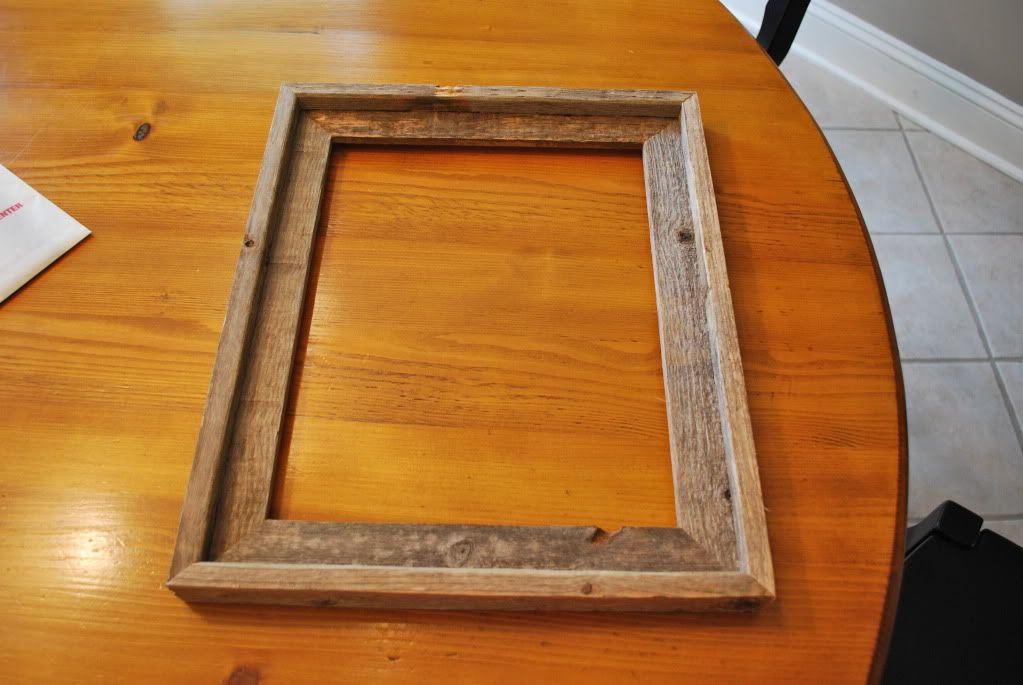
2. Frames -  I used the 14x17 stock driftwood frames from Hobby Lobby.  I bought them during one of their weekly %50 off frame sales (check their flyer on line to see the next scheduled sale).  They didn't have enough so I requested a "raincheck," and they ordered the number I needed at the %50 off price. 
3. Mats - I was not able to find enough of the same color at Hobby Lobby, so I had to order these online at pictureframes.com.  The shipping was more than the mats themselves.  If you can find a local retailer for these, you will save even more money.  I selected the "ivory linen" color in an 8x10 image size for an 11x14 frame inset size.  Also, they smudge very easily, so I tried to keep my hands clean and dry when handling these.


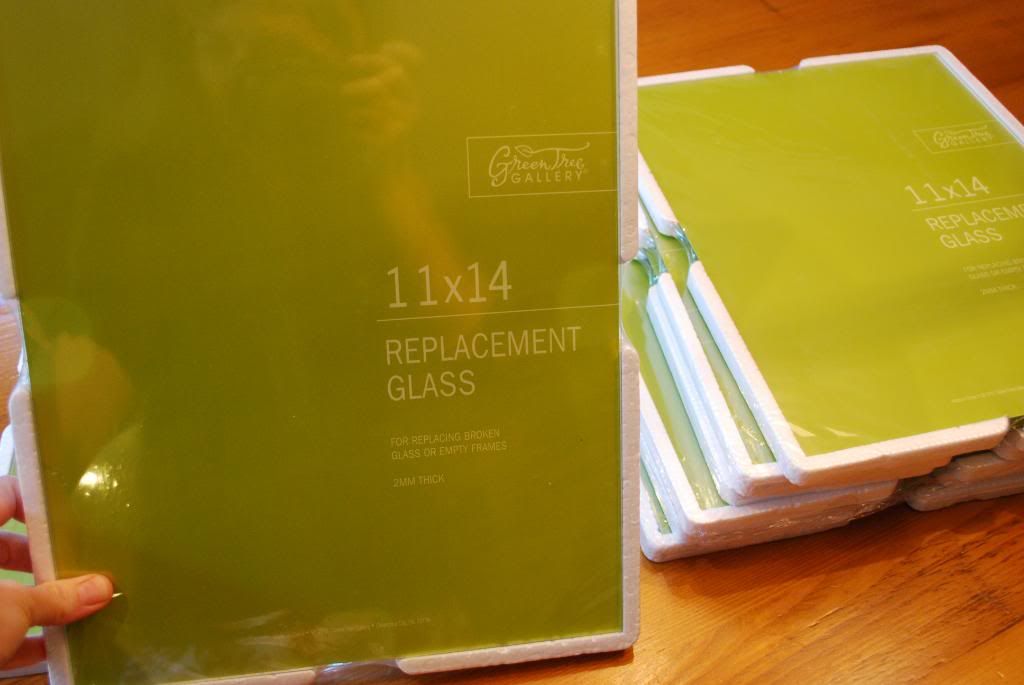
4. Replacement Glass -  found at Hobby Lobby.
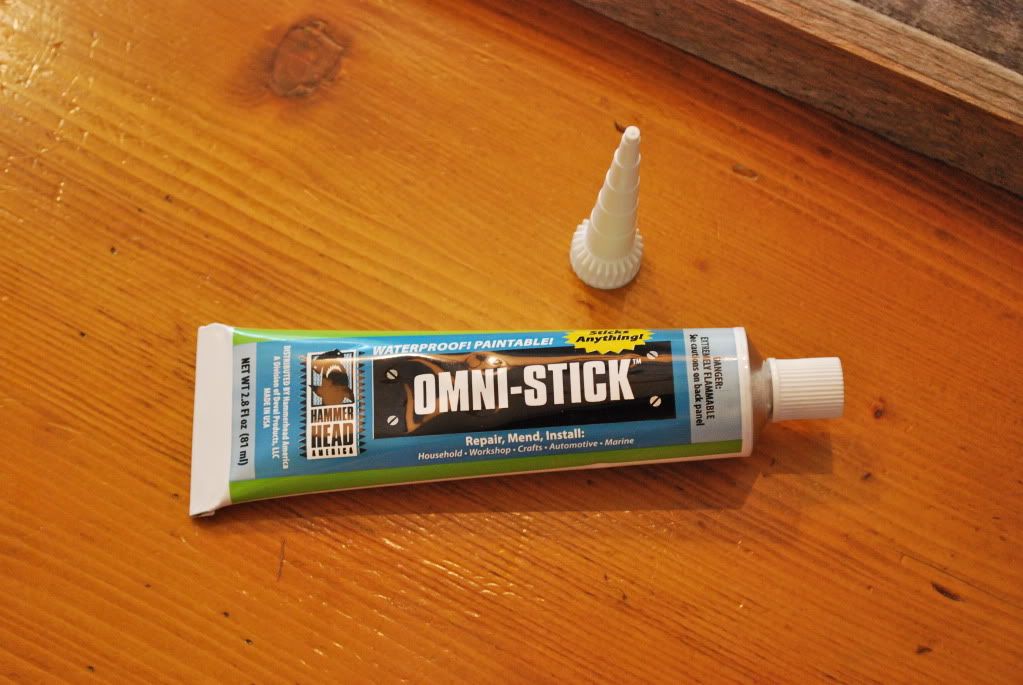
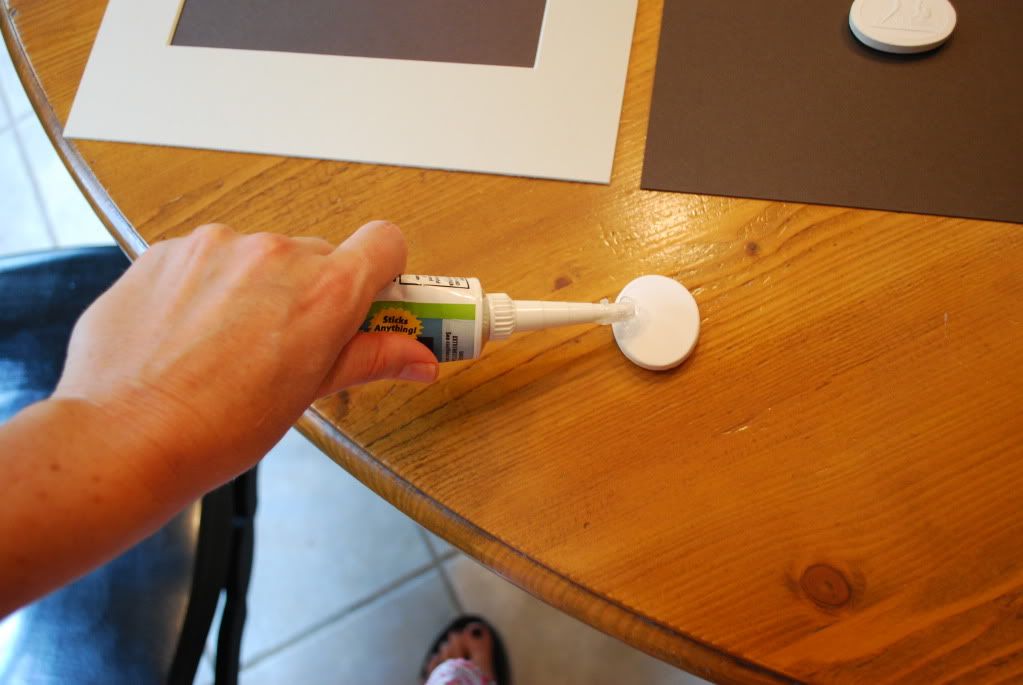
5. Glue - I used a glue that was specifically made for gluing paper, ceramics and cement - found it at Hobby Lobby.  Also, this is not a fast drying glue which allows you to adjust the intaglio a bit on the card stock.  It does dry clear.  If you use a different glue, be sure to test it before using on the entire project!
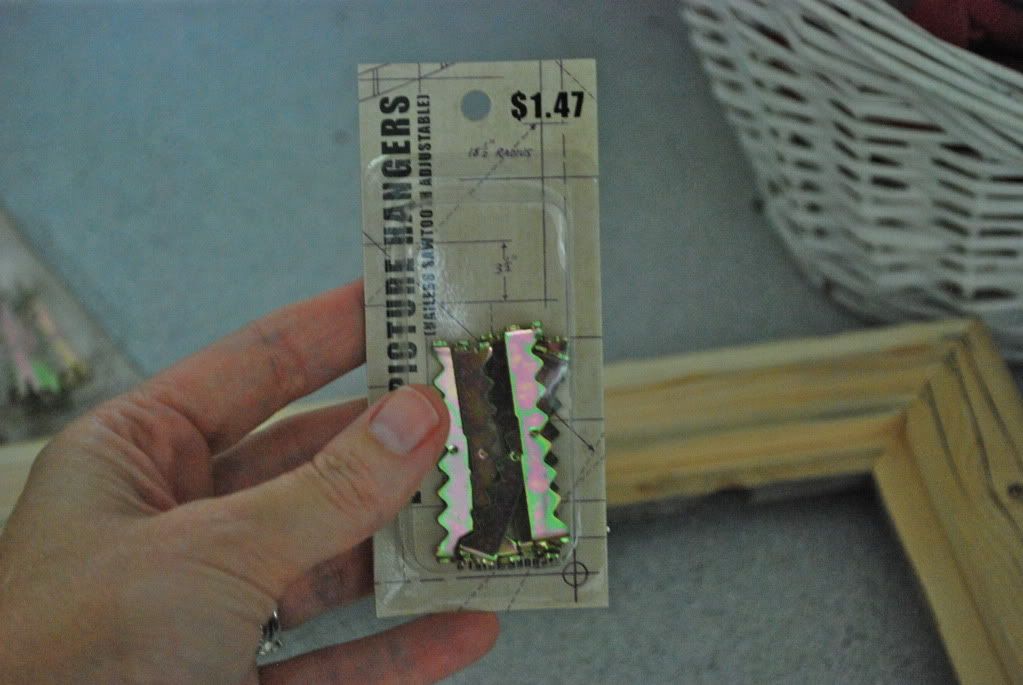
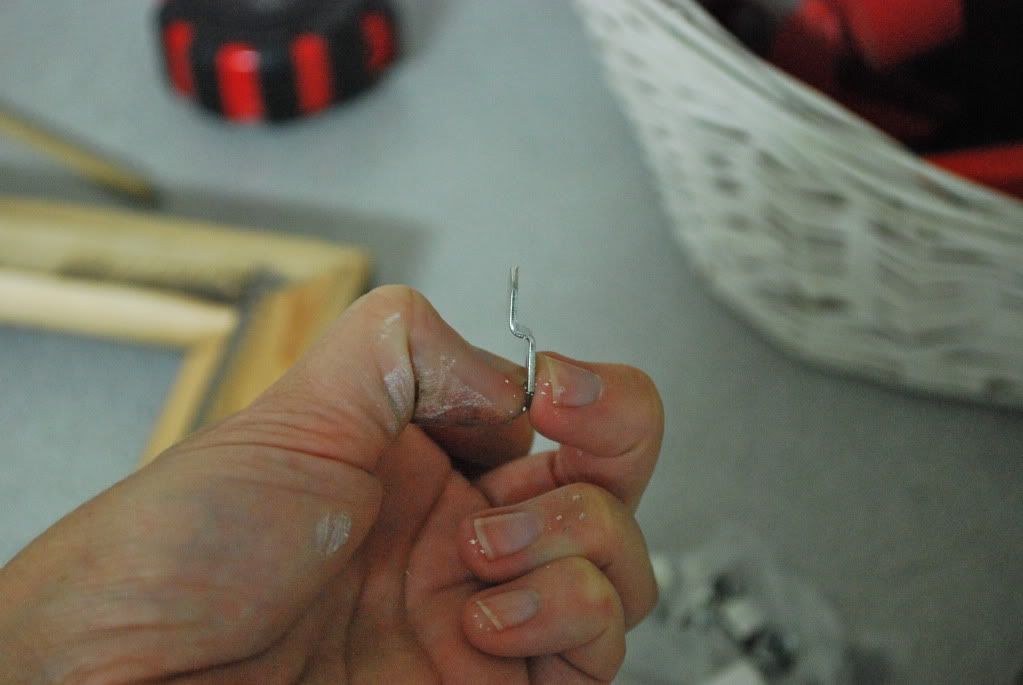
6. Picture Hangers (Hobby Lobby) - I have used these for years for styling jobs.  They are tons easier to work with compared to the eye hooks and wire and since these are light weight frames, they are the perfect solution.
7. Off Sets - these are crucial to the project.  They're not a retail item at Hobby Lobby, so you will have to ask the personnel in the frame department to pull you enough for your project.  If you can't get your Hobby Lobby to sell them to you, here's an online source for the off sets.  Not sure, but I think mine were the 1/4" version.  
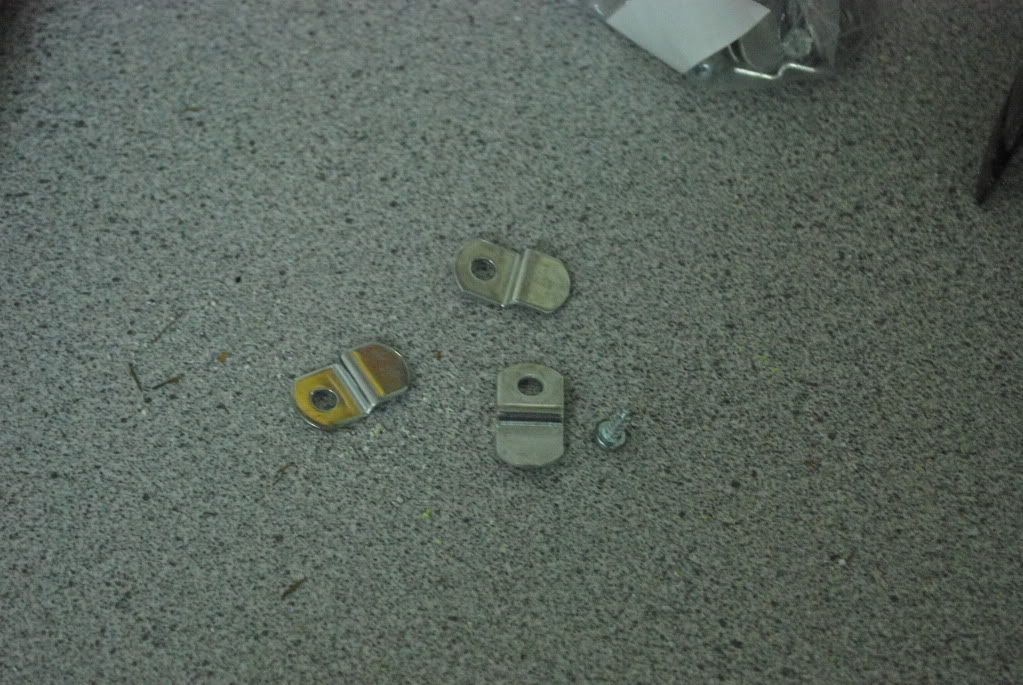
Without the off sets, you will not be able to secure the back - which ends up being thicker than the frame in the finished product.
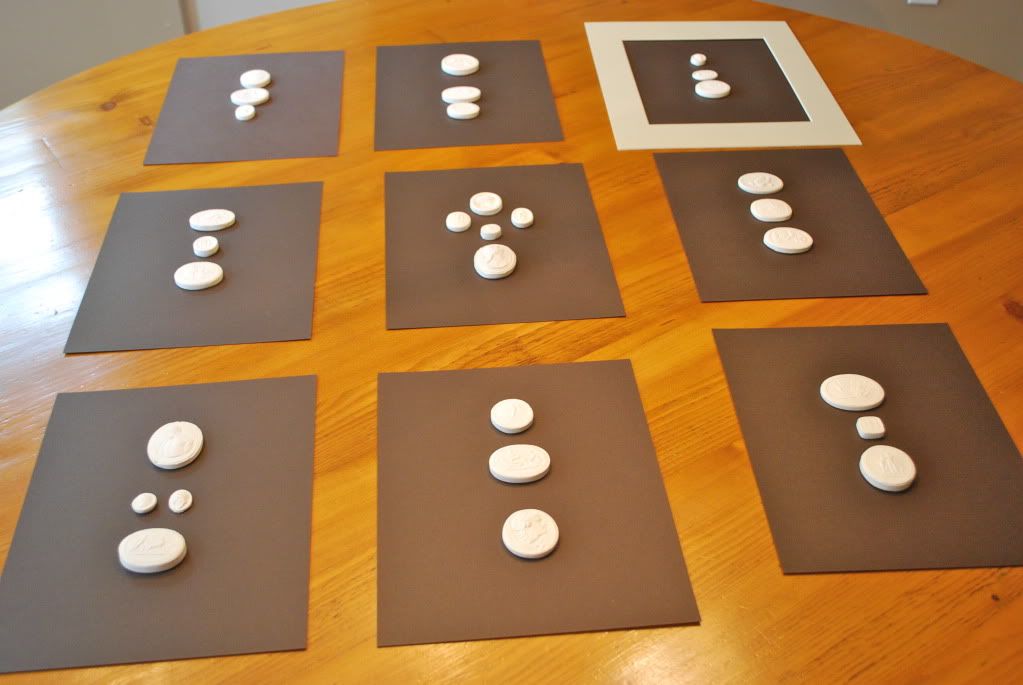
8. Chocolate Card stock (letter size) - any stationary shop can sell you this.  Locally, I ran into Smith's Variety and picked up mine.  The picture is deceiving b/c the color is really much darker, almost black in person.  I think a dark gray would look great too.
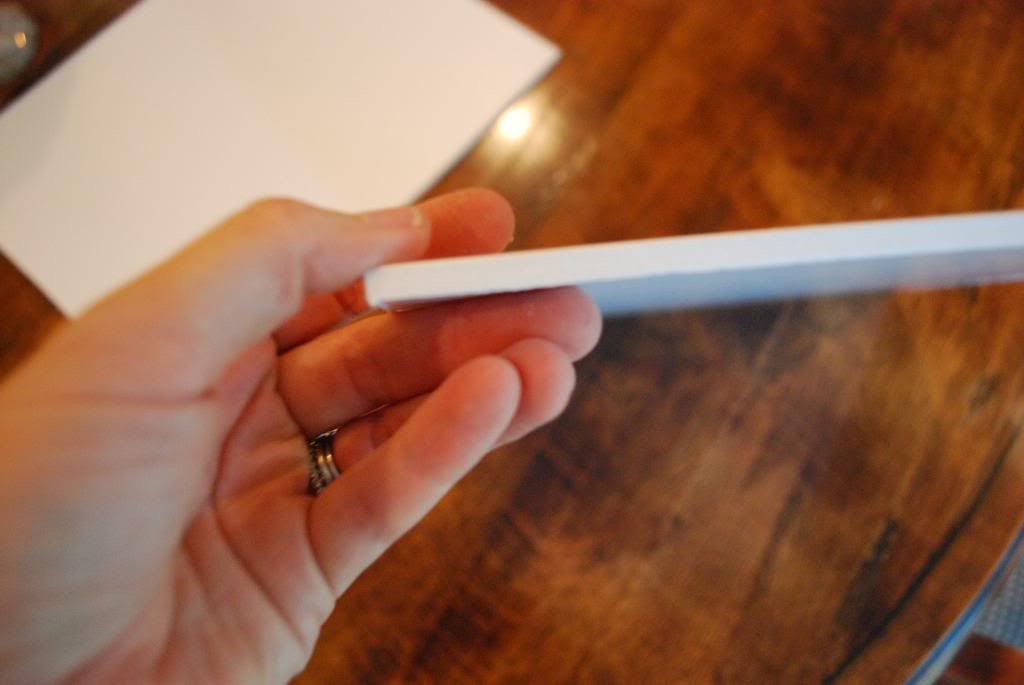
9. Window Insulation Rubber - I know it sounds crazy, but after lots of trial and error, this is the least expensive way to give you the depth needed between the matt and the intaglios while maintaining a clean consistent edge.  I picked it up at Home Depot. Get the 5/16" thickness in white to ensure the intaglios have enough space in the frame.

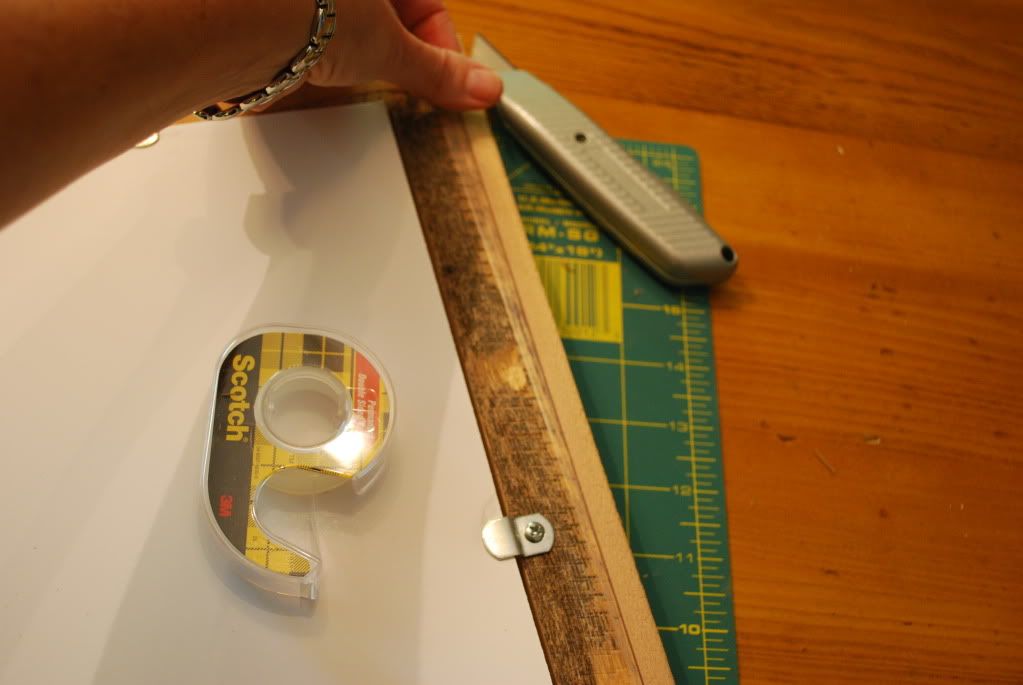
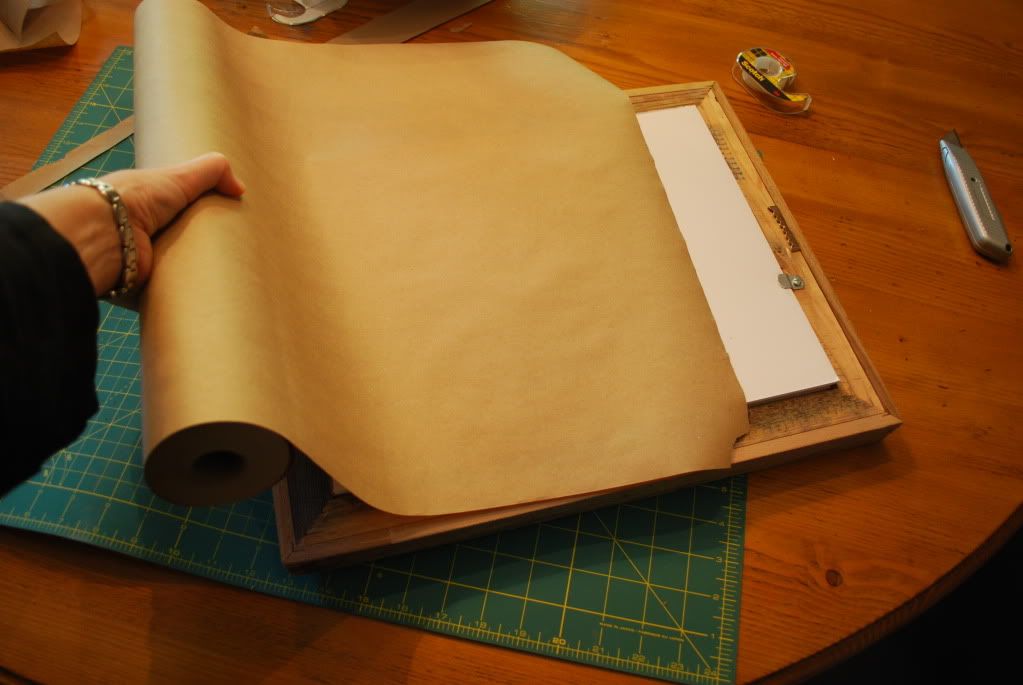
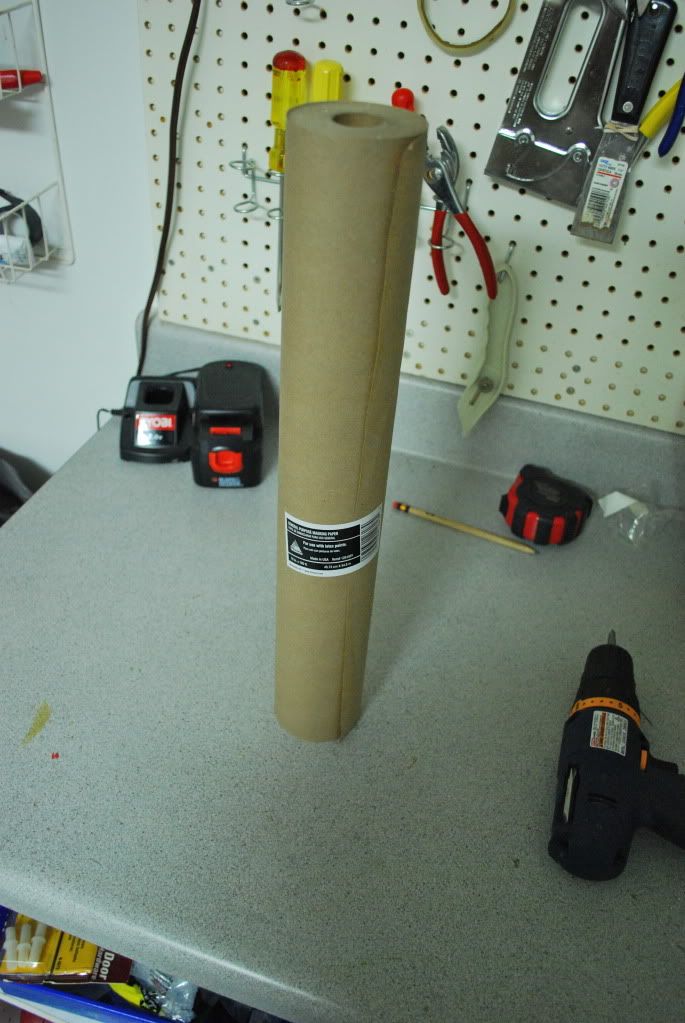
10. Brown Trim paper - This is not essential but if you want the backs of the framed pieces to have a professional finish, you will need this.  I found it in the paint department at Home Depot. 
11. Double stick tape - this holds the brown finishing paper in place.

12. Foam Core Board - This will be the base for the intaglios.  You could use mounting board, but if you are doing a lot of them, it will get expensive fast.  Since you do not see this in the finished project, I decided I would use the more affordable option. 

Step One
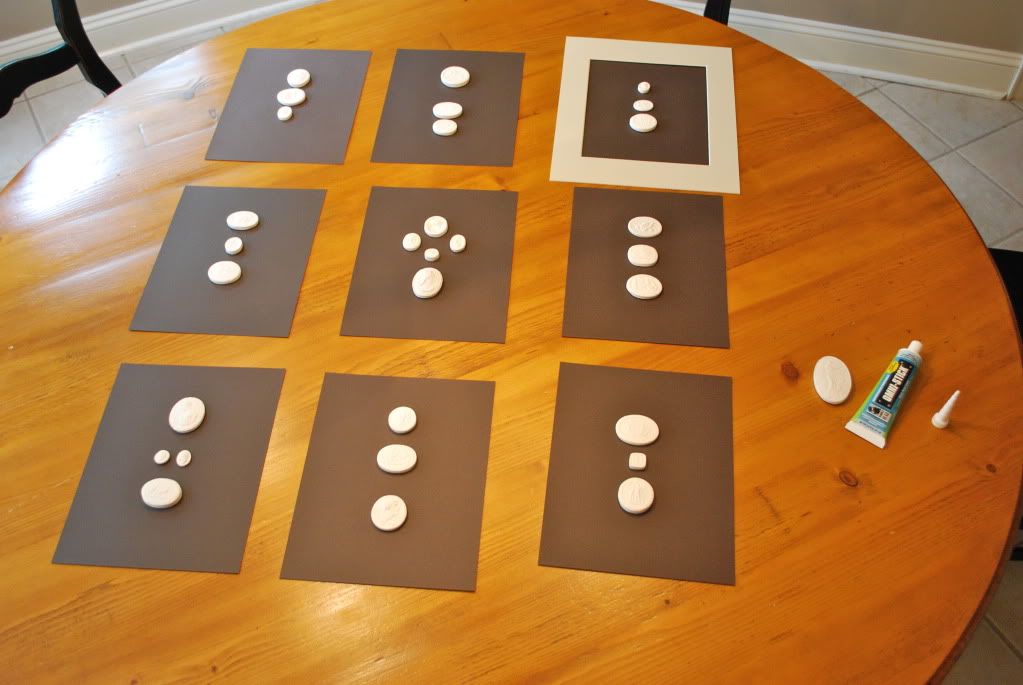
Decide on the number of frames you will be using and place all the intaglios on the card stock to decide proper placement.  I tried to create symmetry in my layout.
Step Two
Glue the intaglios in place on the card stock.  I started by ensuring the backs of each intaglio were clean and dust free so they would adhere to the paper. 


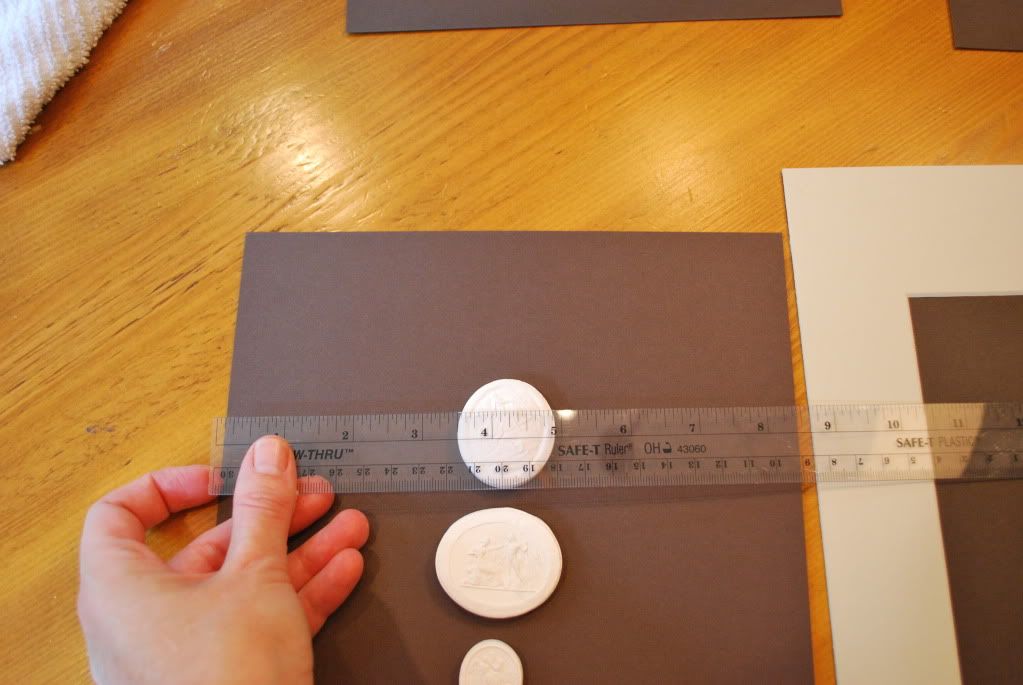
Then, using a ruler, I determined the center of the paper and proper placement.
I then glued each intaglio in place.  As I mentioned, the glue is not fast drying so you are able to make small adjustments in placement.
Then I allowed these to dry overnight on a flat surface.  Do not rush this part!! 

Step Three
Cut Foam Core Board to 11x14 pieces for backing of intaglios.  
I started using a box cutter, and then decided it was taking to much time and energy so I got out the handy electric knife (not kidding).  It cut like butter!
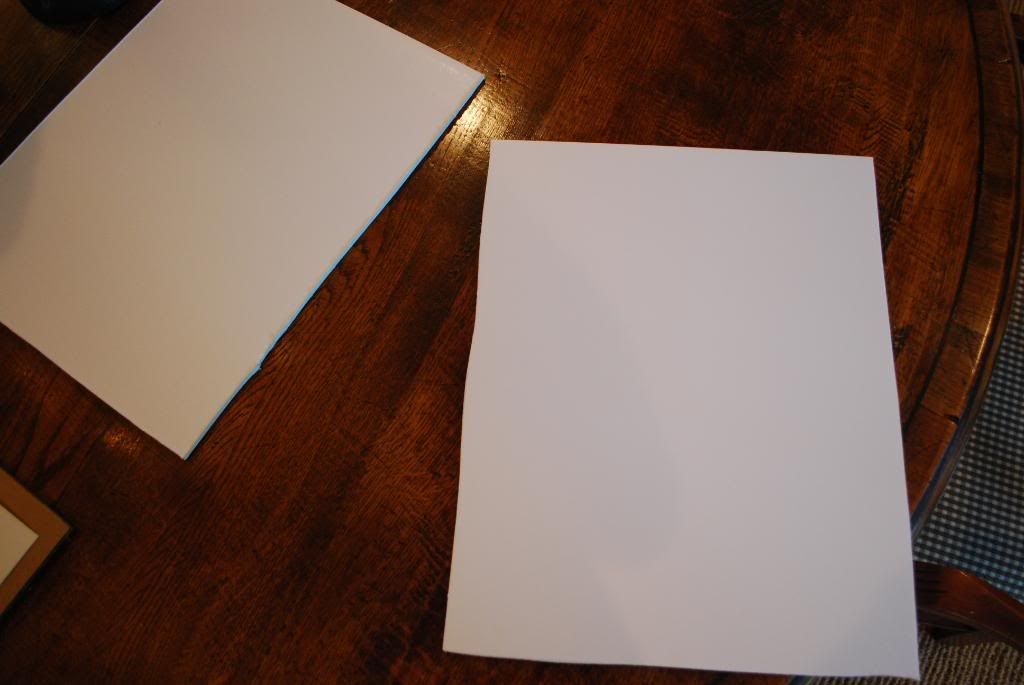
Notice the foam core board does not have to be cut perfectly straight since you will not see it in the final product. 

Step Four
Prepare the frames - I hammered in the picture hanger (making sure to place it in the center on each frame) and the off sets (which I did not drill in the entire way).  
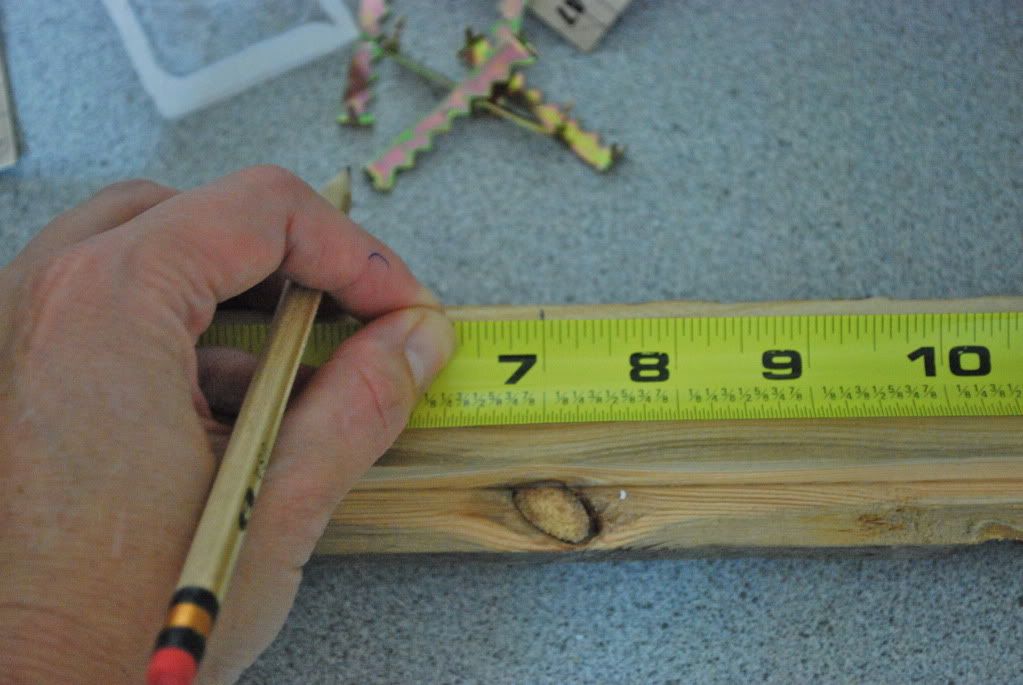
You want to do this step before placing the intaglios in the frame, since the hammering, etc could loosen your intaglios in the finished project. 


Step Five
Secure card stock (which now has the intaglios on it) to the foam core board.  To do this, you need to place the card stock on the foam core board and then place the mat on top of it and adjust the intaglios until they are centered with the mat (or you could use adhesive mounting board for this step and skip the glue).
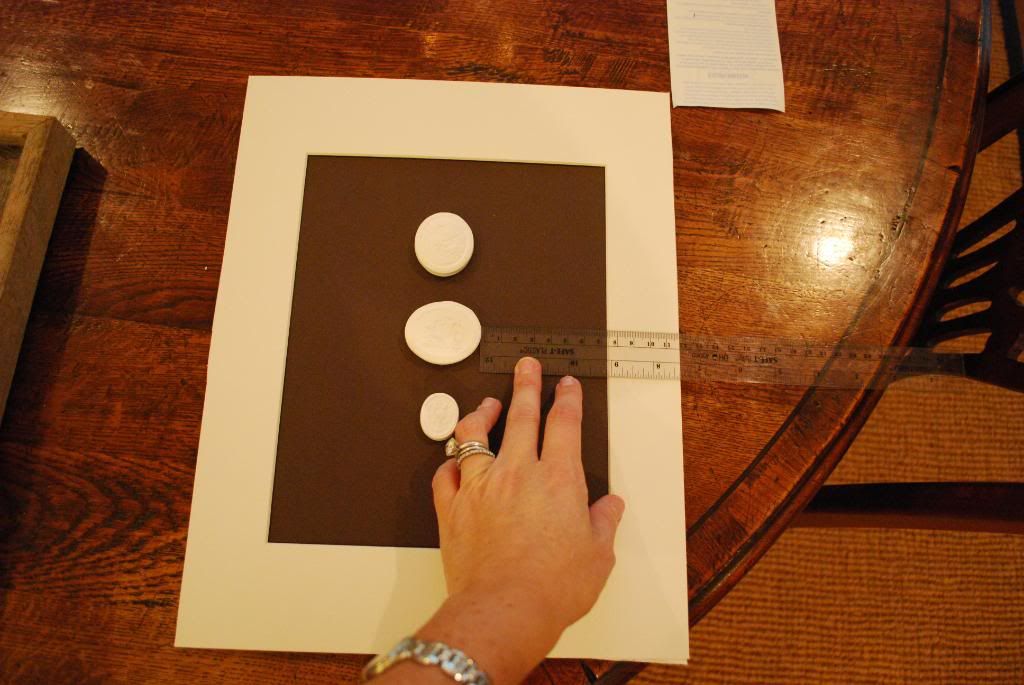
Then lift up the mat and mark the proper placement of the card stock on the foam core board.  
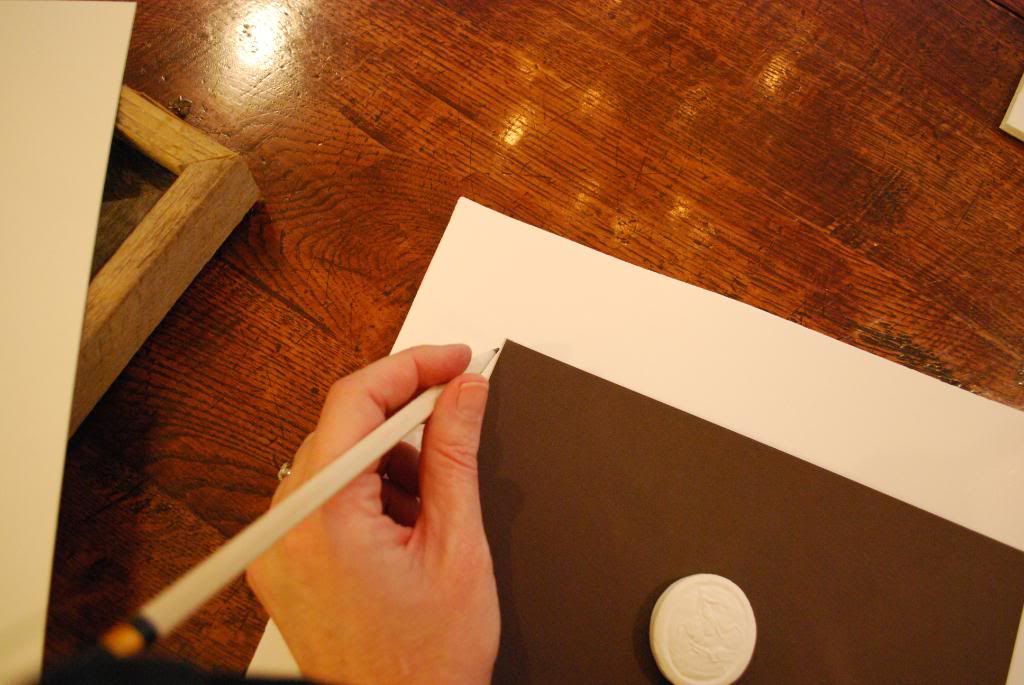
Place glue on the top and bottom lines on the foam core board where the card stock will be placed and press the card stock into the glue. 
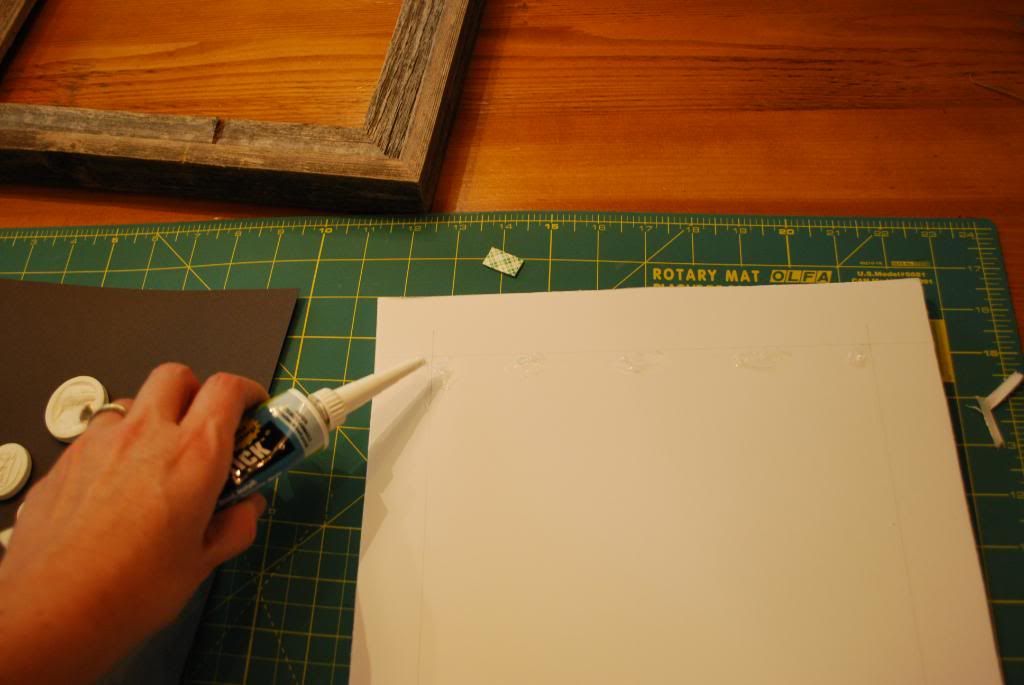
 Allow this step to sit overnight to dry.  (I never said this project was quick!  Just easy and affordable!)

Step Six
Create depth between the mat and foam core board using the window rubber seal.
Following the line of the card stock, cut and stick the self adhesive rubber seal onto the foam core board.  You just want to catch the edge of the chocolate paper, to ensure you don't see the seal once the piece is put together. 
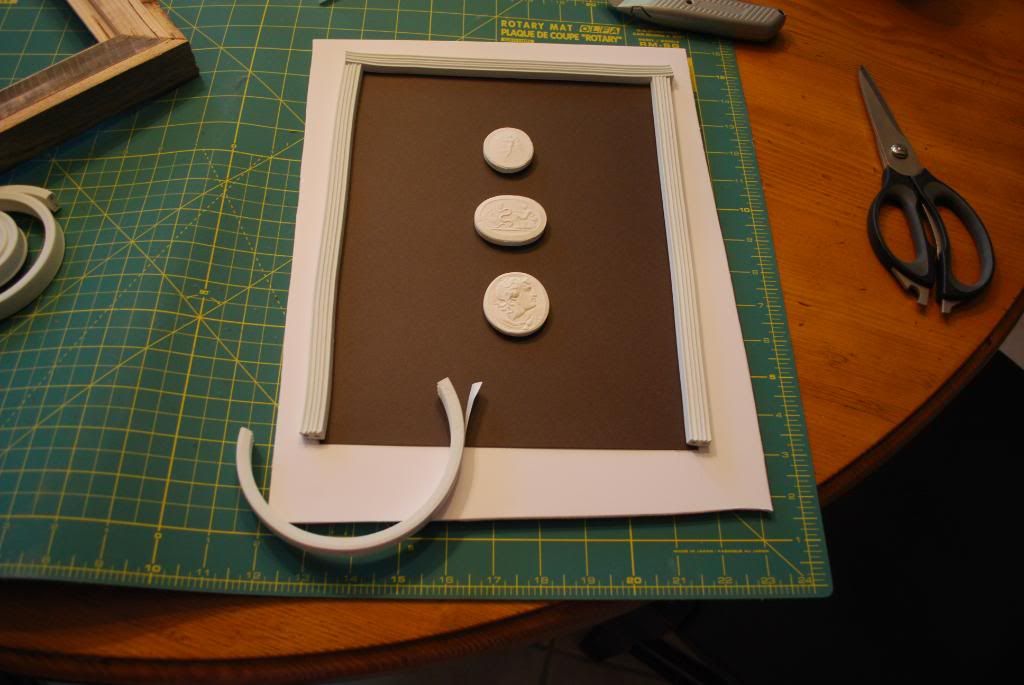
Only the edge of the rubber seal can be seen (if you leaned in close and tilted the frame), so don't worry about how the pieces connect in the corners.
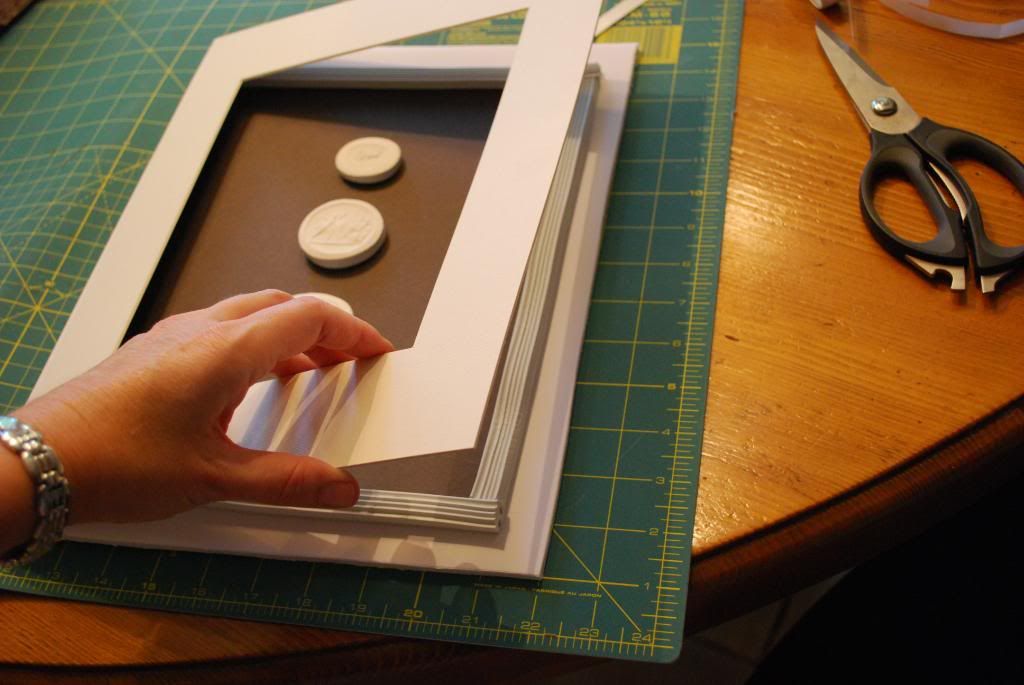
Step Seven
Put the layers together - Place the frame face down, add the glass, the mat, and then the foam core board (which has the intaglios and window seal glued to it at this point).
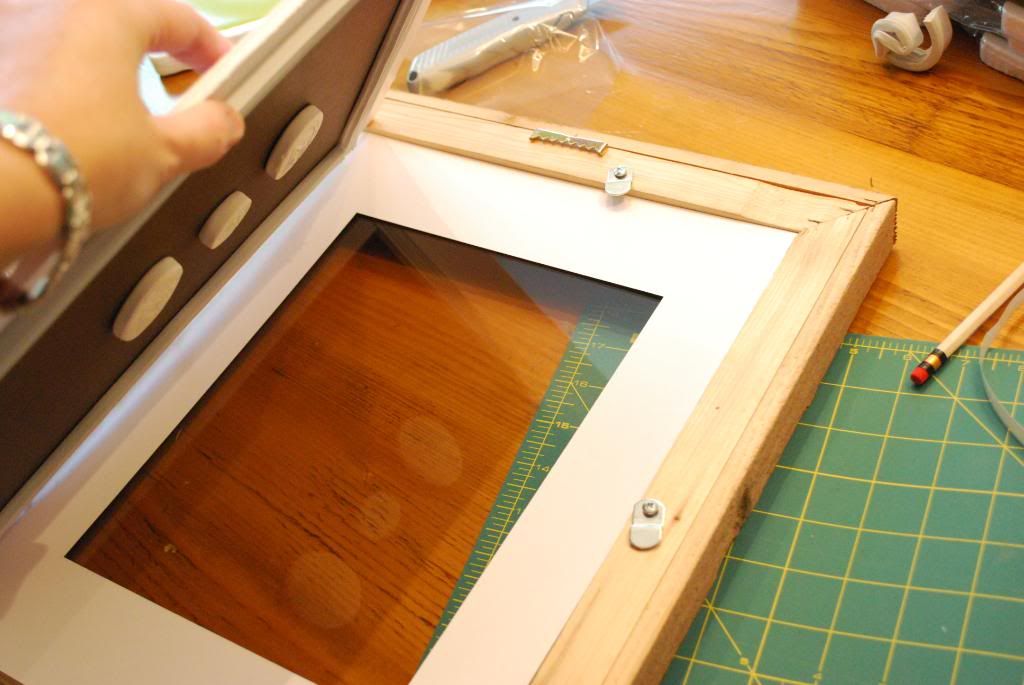
Step Eight
Tighten up the off sets on the back to secure the layers together.

Step Nine
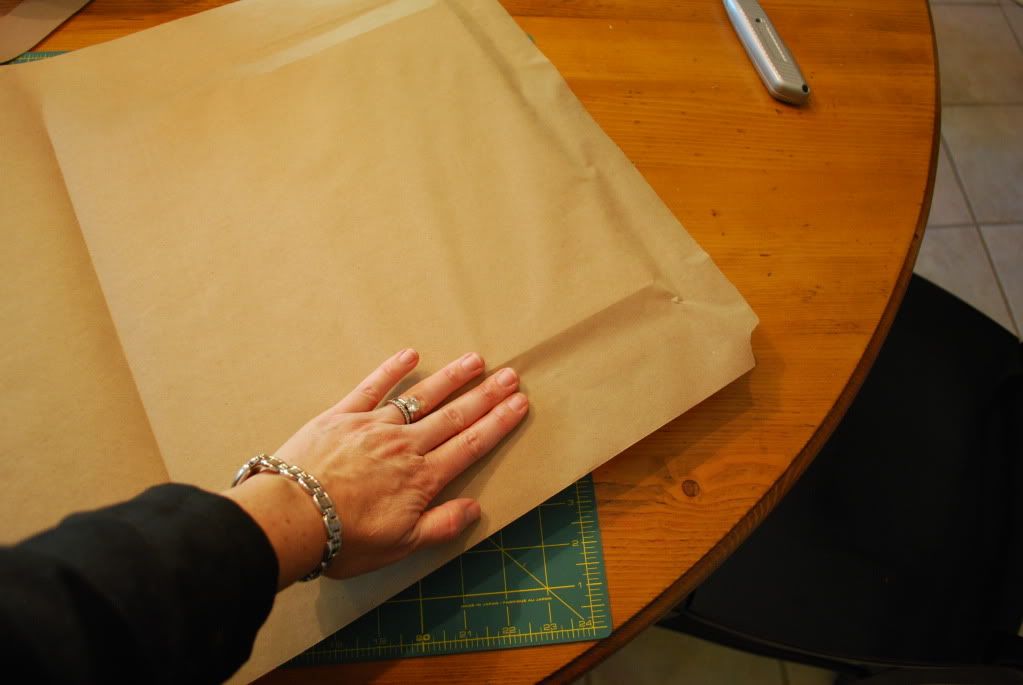
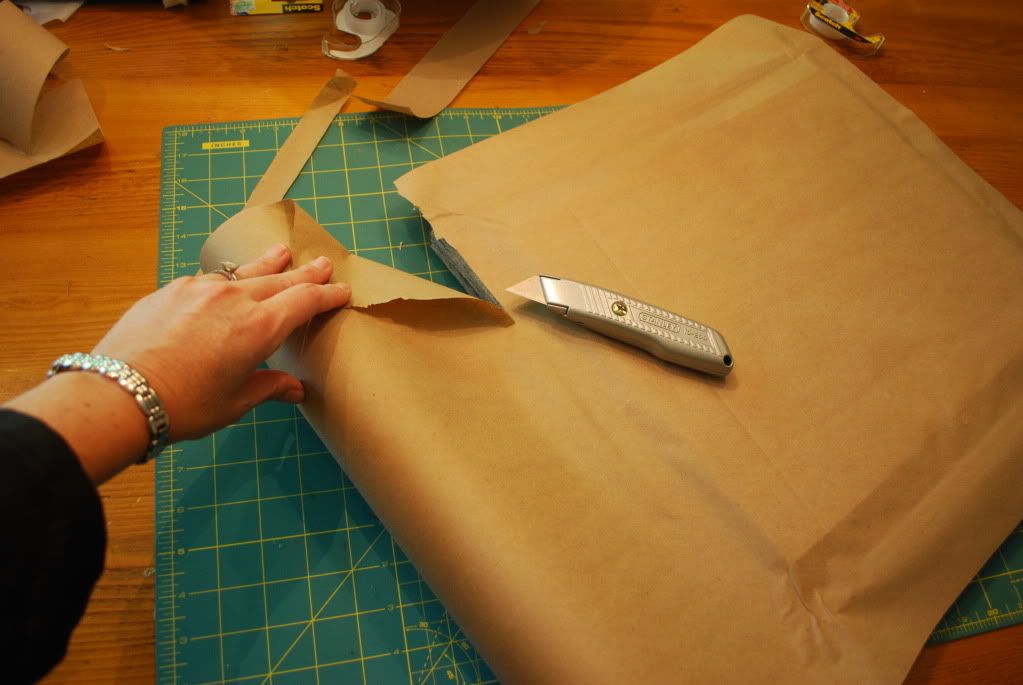
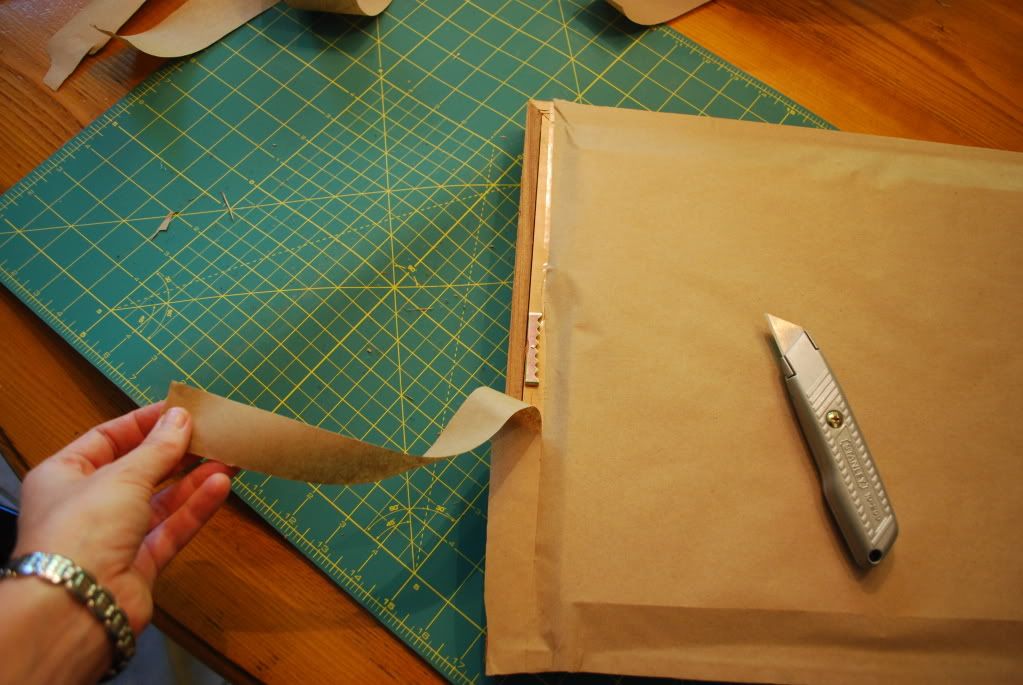
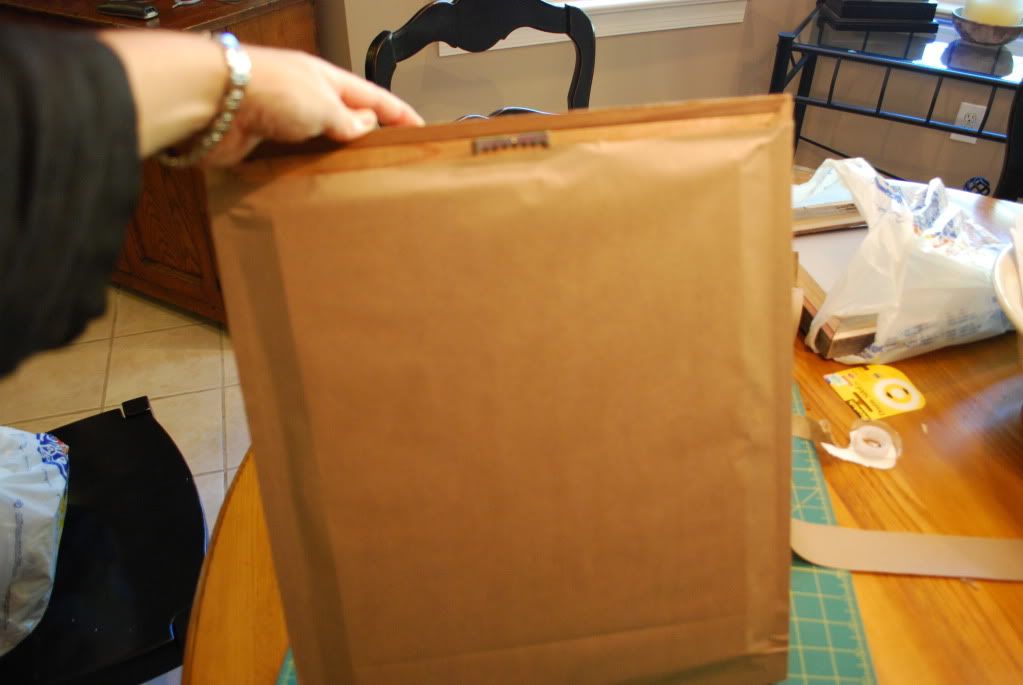
Finish the back of the frame.  Place double stick tape on the outside edges of the frame.

 Roll the paper over the frame.


Using an exacto knife, cut away the excess paper.


Step Ten
Hang the grouping and enjoy.
Here are my tips for getting the perfect spacing when hanging a grouping, if you need a refresher - Proper Way to Hang a Grouping.


And that's it!  You get a huge wall of art for a fraction of the price.
I hope you will try this project.  It was so much easier than I expected.  The only thing you really need to remember is to be patient and wait for the glue to dry overnight and be meticulous in the spacing/gluing of the intaglios.  If you try this project, I would love to see your efforts!

And for those who are just not up for a DIY project, I did the work for you!
I am giving away this smaller framed set of two intaglios to one lucky reader.

This framed piece measures 11"x13" and includes two intaglios.


You could place it in a grouping with other artwork, on an easel in a bookshelf or over a side table next to a chair.  It's very versatile.

If you would like a chance to win this artwork . . .
Click Here to Enter The Giveaway


Good Luck and thank you again for following my blog! M.

Monday, October 3, 2011

DIY Project - Intaglios

On Friday,  I gave you a teaser as to what I've been up to lately.  Last week, I finished a project I have had on my to do list for almost a year.  I did a post last fall on intaglios and was totally smitten with having some in my home.  Here are a couple of examples from Things That Inspire.


After lots of sourcing, I realized I did not have the budget for a grouping of these in my living room (the above examples are $395.00 each and I wanted at least nine of them).  So, I started doing some research and found some very affordable knockoffs.

They are not old (they are not really even intaglios), but they have the same feel and will give the same look.

Well, I bought them - the entire lot was around $32.00.  Then, they sat in my closet for almost a year.  They sat so long I started to think that my obsession with them was done.

 Until, I was in Hobby Lobby replacing a frame my son broke while playing basketball in his room with one of those miniature basketball goals.  The frame was for a lovely poster of Bo Jackson [smile] which he proudly displays for all the world to see. (I have to keep it real, and this is just one of those things boys have to have in their rooms)

Sorry to digress . . .  

Backed to Hobby Lobby . . . I turned the corner and saw a sign for %50 off all frames, so I decided to peruse the offerings.  When I saw these . . .

And the intaglios immediately came to mind.

  I thought, "These are perfect and would give the intaglios a totally different look from what I've see before.  If I could frame them, I could save a fortune.  Hmmmm.  But, I've never done something like this before.  It would have to look really high end, since I will be putting them in my living room. Hmmm.  Can I pull it off?"  So, the mental struggle continued until, Edward, from the frame shop, asked me if I needed help.  This turned into a very educational ten minutes or so of Edward telling me what I needed to pull off the look.  So, I grab the frames at $9.50 each, and most of the the other supplies I needed and came home to work on it.

Well, here's the finished product.

And my version comes in at $32.67 each!!! I am so glad I decided to try it.  There was a bit of trial and error along the way, but I am so happy with the final product.

I think it totally changes the look of my entry way. Here's the before . . .

And the after . . .

And the good news . . . Later this week, I am going to show you step by step how to make the same grouping for your own home.  I am going to show you where to get the intaglios, the supplies you will need and a step by step process of how to put the entire thing together.

And the even better news . . . I made one extra one!!  While I had all the supplies out, I decided to make a smaller version using two intaglios to give away to one lucky follower.  How's that for a Monday?
Here's a sneak peek of the one I'm giving away.
  Stay tuned tomorrow for all the details! M. 

Friday, September 30, 2011

Happy Friday


It's been a very productive week for me.  I am working on a couple of projects I want to share with you very soon!  I will working on them over the weekend.  So, until next week . . . have a wonderful weekend.  M.  

Thursday, September 29, 2011

Find of the Week - Ashley Terrell


Today is your day to snag an amazing piece of original art for a fraction of the price.  I mean it!! 
If you are in Birmingham, and have a free moment, grab a friend and swing by to take a look.  

Art Within Reach

Thursday, September 29th
10am-7pm
At the Home of Betts and Lauten Johnson
2201 Shades Crest Road
Vestavia Hills, Alabama


Here's a sampling of her work.


What I love about Ashley's style is it's very easy to incorporate into traditional or modern spaces.  

It adds a high end element that you just can't get with a giclee print.

This wonderfully talented artist is not paying me a dime to say these things about her.  She is just that good. 
Ashley is my find of the week! M.

PS: If you are reading this and a little mad (smile) you don't live here in Birmingham today, you can visit her website to see more of her work.  She is more than happy to work with long distant clients! 
Here's a link to her page - Ashley Terrell


Wednesday, September 28, 2011

If I Were Handy . . .

I would zip over to IKEA and pick up this for $299.00 . . . 

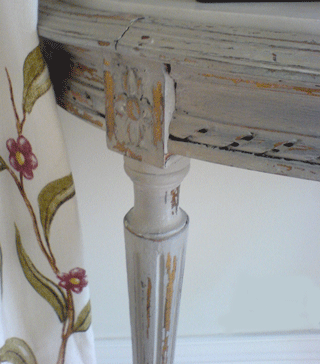
Then I would order some chalk paint which is very forgiving and easy to work with.  I would get it in this color . . . 


Then I would sand off a bit of the paint on the edges to let the original color show through like this . . . 


Then I would change the hardware to these ($4.76 each) . . . 


And get a very similar look to this for a fraction of the cost . . . 


This stunning piece retails for $1,500.00 and is on sale for $699.00 at Kings Lane this week.  


Artwork Tip: If you are in the Birmingham area and want to check out some amazing original artwork, my talented friend Ashley Terrell is in town showing off her work.  You can see and purchase her pieces on Thursday, September 29th from 10am-7pm at the home of Betts and Lauten Johnson (2201 Shades Crest Road). Ashley's calling the show "Art with Reach" which is so appropriately titled given her affordable prices!    Have a great day.  M.

Monday, September 26, 2011

Eye of the Magpie - Acrylic Box Update

In July, I posted about this amazing space.  

Specifically, about an acrylic box seen in the space.  

Well, I took my own advice and ordered a custom size acrylic box for a very sentimental item that has been in my husband's family for years.  It's a very old pistol.  Somehow, we ended up with it, and it's sat in a box in our attic for years.  Well, no more!  Here's it's new home.  

When I ordered the box, I kept wondering what I would use to prop up the gun so you could actually see it in the box.  I came up with all sorts of elaborate expensive ideas.  Then, I had a passing conversation with my Dad who told me they often use shot gun shells at gun shows to prop pistols up for display. Since this gun does not use shells, I decided to keep it simple.  I went out into our backyard and found a stick of the perfect diameter.  It looks rustic and does the trick, don't you think?! 

When we first acquired the gun, I thought, "What am I suppose to do with this thing?"  Somehow, the acrylic box really makes it feel important and special. 

 I think an acrylic box can make almost any random accessory feel important.  If you need a custom size, expect to pay a bit more.  I used John with AZCustomPlastics, and he was super nice.  It did take a couple of months to get it.  But the quality is great, and I got exactly what I wanted.    

Alternatively, if you purchase a basic size (like for a football or baseball), the price is very reasonable and you get the same impact.  Here's an example I found online just by googling "acrylic display box."   

Order a basic box, and then find something to put in it!! You will be amazed. . .  

On another note, my posting is going to be sporadic this week.  People are beginning to prepare for the fall season and holidays to come.  So, I have a couple of redesigns this week.  Redesigns are an easy way to make your current space feel fresh and new without buying any additional furnishings.  If you are feeling the need to do the same, call me.  I can create a fresh new space for you too!    

Have a great start to your week! M.